Perfectly Cooked Hard-Boiled Eggs
This post may contain affiliate links. Please read my disclosure policy.
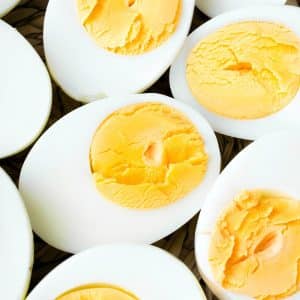
Master the methods of cooking Perfect Hard-Boiled Eggs on a gas or electric stovetop! From a simple recipe and precise timing techniques to easy peeling hacks and troubleshooting, this comprehensive boiled egg guide has you covered!
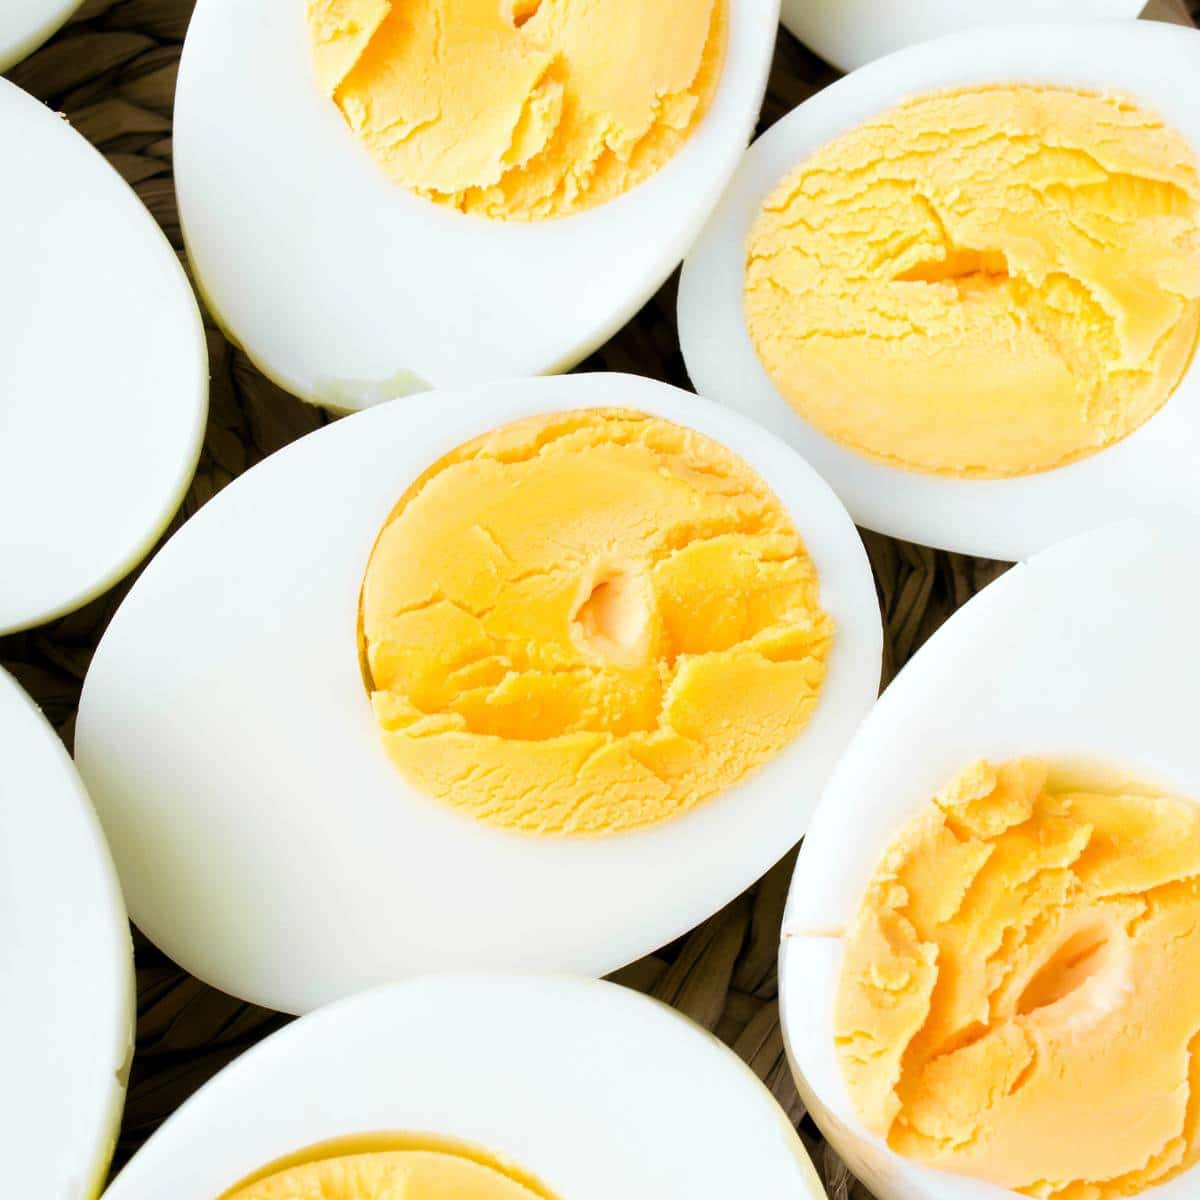
Whether you have a gas stove or an electric range, making hard-boiled eggs is a relatively straightforward task. That is until you find yourself with overcooked or undercooked eggs that are nearly impossible to peel.
Finding the right balance between heat and timing can be tricky, but not anymore! By the end of this post, you will be a boiled egg expert, and your future egg-boiling endeavors will go off without a hitch!
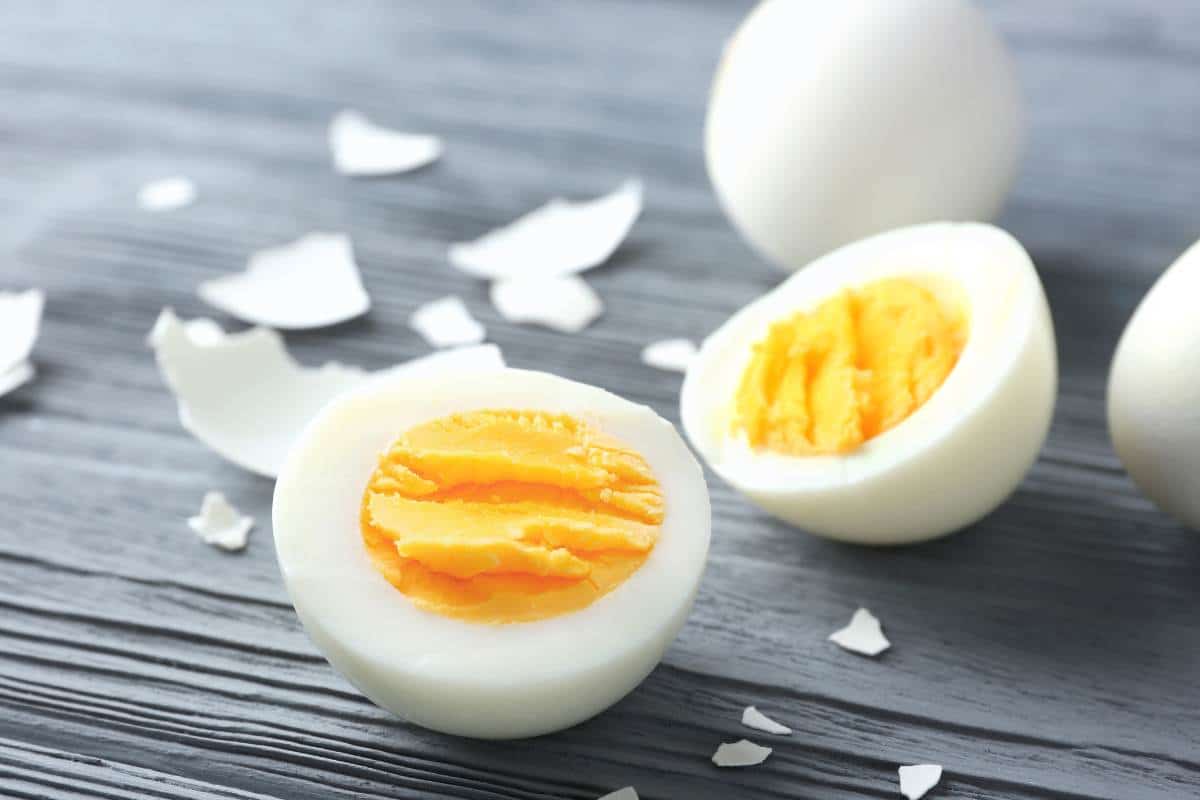
Ultimately, this easy and efficient stovetop method produces eggs with creamy, golden yolks, fully set whites with no signs of sulfur rings, and egg shells that practically slide right off!
Of course, you can enjoy hard-boiled eggs simply seasoned with salt and pepper as a high-protein snack or part of a balanced breakfast, but they’re also an integral ingredient in recipes like egg salad, deviled eggs, and so on!
Why you’ll love this guide
- No more trial and error. This method eliminates the guesswork, so you can enjoy hard-boiled eggs exactly how you like them every time.
- No more wasted eggs. Carefully following the recommended cooking time and technique eliminates the risk of undercooking or overcooking your eggs.
- Easy, fuss-free peeling. These tips and tricks make peeling more manageable and the overall hard-boiled egg experience more enjoyable because you won’t have that weird greenish-gray sulfur ring around the yolk.
- Healthier cooking method. Boiling eggs preserves their nutritional value and is an excellent option for health-conscious individuals that don’t cook with much oil or added fat.
- Great for meal prep. You can boil the eggs in advance so they’re ready to use in recipes and grab them on the go when you need a quick, protein-packed breakfast or healthy snack.
Ingredients for perfect hard-boiled eggs
- Eggs – When it comes to hard-boiled eggs, older eggs are typically easier to work with than fresher ones, but if you only have fresh eggs, you can still achieve success by following the cooking and cooling instructions precisely.
- Salt – It’s worth noting that salt doesn’t significantly affect the cooking process, so the amount added to the water is relatively small. Adding salt is more about adding a hint of flavor rather than heavily salting the eggs.
- Baking soda – It raises the pH level of the water, making it more alkaline. The increased alkalinity helps break down the egg white proteins and weaken the bond between the egg white and the shell’s inner membrane. This makes the eggs easier to peel without the frustration of the white sticking to the shell.
How to cook hard-boiled eggs on the stovetop
Follow these simple steps to cook hassle-free hard-boiled eggs on your gas or electric cooktop:
Step 1: Cover eggs with water. Carefully place the eggs in a single layer at the bottom of a large pot. Add enough cool water to cover the eggs by about an inch.
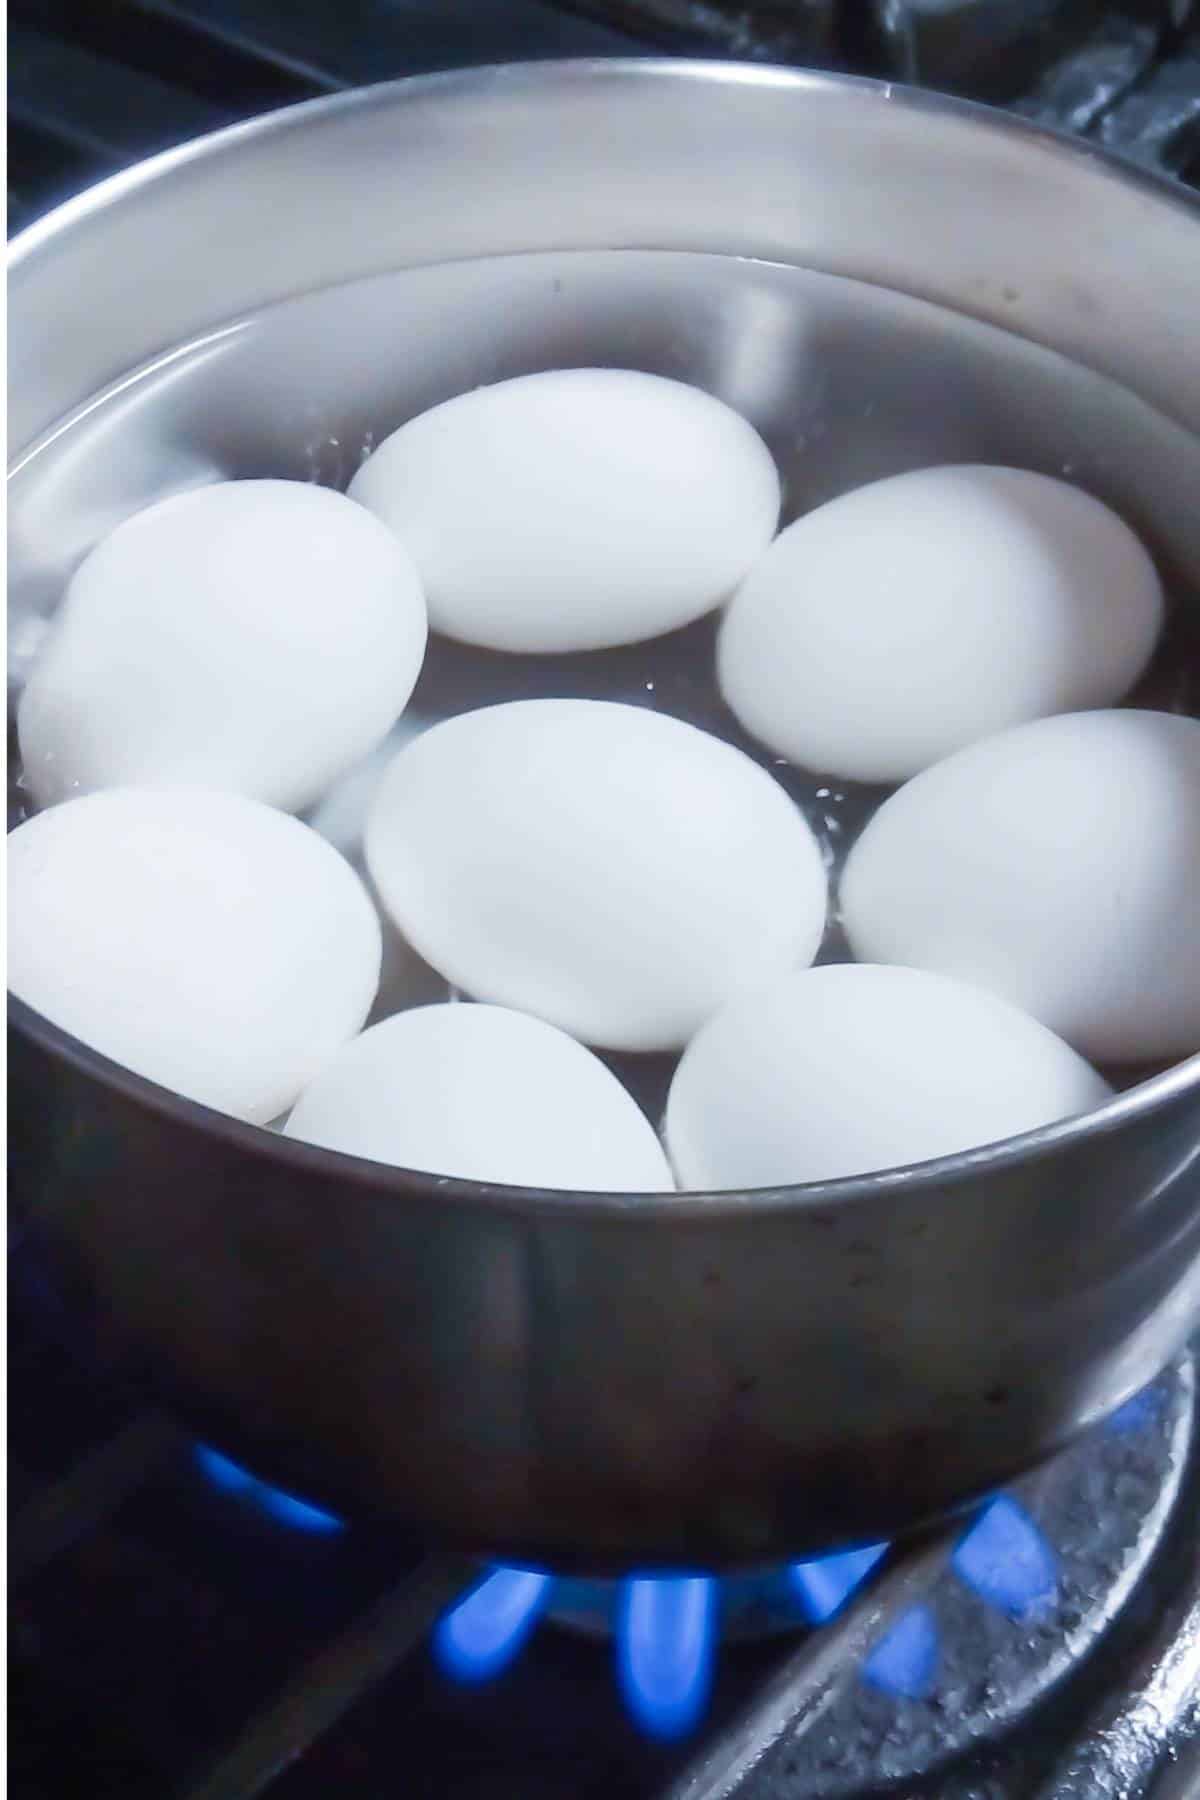
Step 2: Heat water to a boil. Add salt and baking soda to the pot, place it over medium-high heat, and bring the water to a full, rolling boil. Turn off the heat when the water reaches a full, rolling boil.
Step 3: Let stand until fully set. If you’re cooking on a gas stove, leave the pot on the burner, cover it, and set a timer for 10 minutes. Or, if you have an electric stove, remove the pot from the burner, cover it, and set a timer for 10 minutes.
Step 4: Shock the eggs. Meanwhile, fill a large bowl with ice cubes and cold water. When the timer stops, carefully transfer the eggs to the ice bath using a slotted spoon, and let them sit for about 5 minutes.
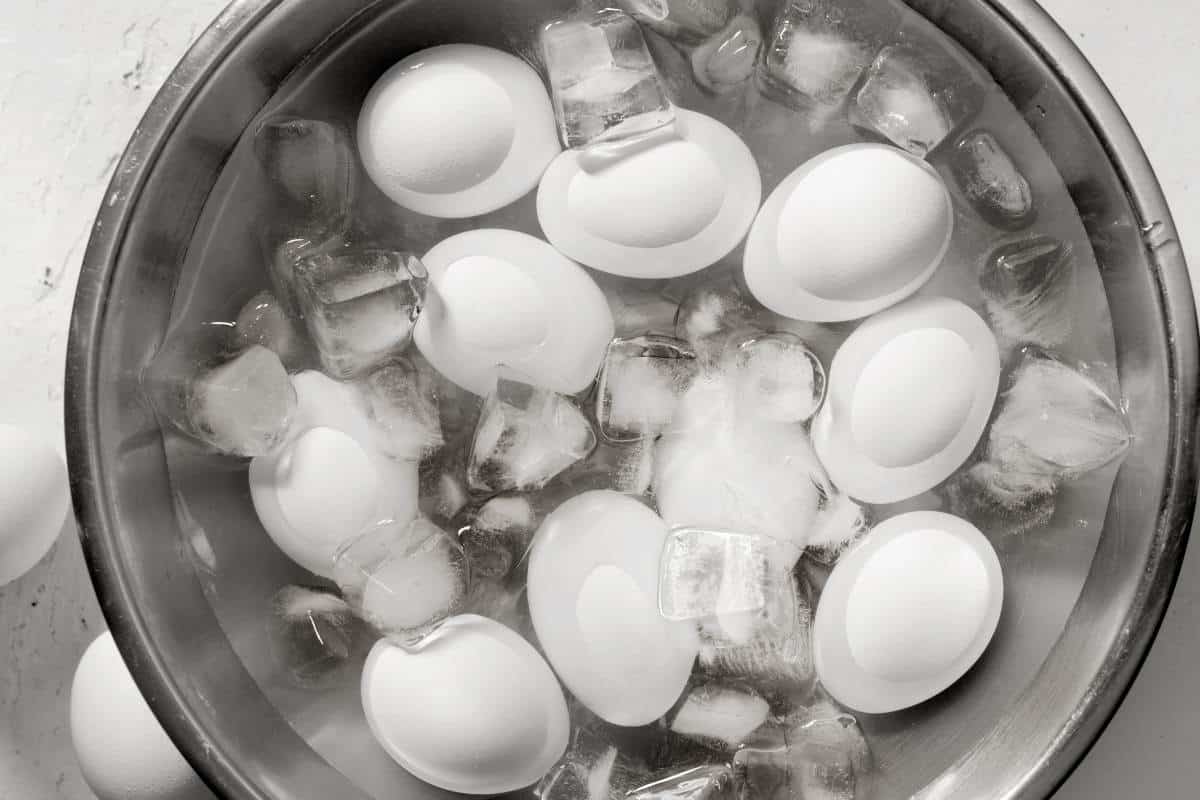
At this point, you can transfer your perfectly cooked hard-boiled eggs, peeled or unpeeled, to an airtight container or resealable bag and keep them in the fridge for up to a week.
Timing for perfect yolks
Once the water comes to a full boil, you can adjust the timing to achieve your desired texture. Here are approximate timings for levels of yolk doneness you might like:
- Very runny yolk with a slightly set white: 4 minutes
- Custardy yolk with a firm white: 6 minutes
- Fully set yolk with a firm white: 8 minutes
- Fully hard-boiled: 10 minutes
Cooking tips
- Start with room-temperature eggs. If you take the eggs out of the refrigerator about 30 minutes before cooking, they tend to cook more evenly.
- Do not overcrowd the pot. The pot must have the capacity for the number of eggs you’re cooking to float freely as the water starts to boil.
- Use older eggs. Slightly older eggs (around 1-2 weeks old) are often easier to peel after boiling than fresher ones.
- Poke a tiny hole in the eggshell. Another trick is piercing the bottom of the shell (the wider end) with a sanitized needle before boiling to help the shell separate when peeling.
- Boil the eggs with baking soda. While fresher eggs can be tricky to peel, adding baking soda while boiling helps the egg white separate from the shell flawlessly.
- Add vinegar to the water. Adding a splash of vinegar to the boiling water can help prevent cracking and make the eggs easier to peel. If a crack occurs, the vinegar helps coagulate the egg whites before they leak from the shell.
- Control the heat and set a timer. Start the eggs in cool water. Once the water reaches a full, rolling boil, remove the pot from the heat and leave it for 10 minutes. If you have a gas stove, turn the range off, but leave the pot on the burner.
- Do NOT skip the ice bath! Immediately plunging the eggs into an ice bath stops the cooking process. Shocking the eggs this way helps create a small gap between the egg white and the shell, making them easier to peel.
- Peel the eggs with care. Gently crack the cooled eggs on a hard surface, then roll them between your hands to loosen the shell. Peeling the eggs under cold running water will also make the process smoother.
Flavor ideas
You can’t go wrong seasoning a hard-boiled egg with salt and pepper, but if you’re craving something more exciting, here are some of the many ways to spice up a plain hard-boiled egg:
- Smoked Paprika
- Everything Bagel Seasoning
- Homemade Seasoned Salt
- Dry Ranch Seasoning
- Italian Seasoning
- Lemon Pepper Seasoning
- Chopped Fresh Herbs
- Hot Sauce
- Soy Sauce
- Balsamic Vinegar
Serving suggestions
Perfect hard-boiled eggs are so much more than a healthy snack. Here are some recipes that call for hard-boiled eggs as an ingredient:
- Egg Salad
- Ham Salad
- Tuna Salad
- Potato Salad
- Chopped Salad
- BLT Chicken Salad
- Deviled Eggs
- Hummus Stuffed Egg Whites
- Tuna Nicoise Salad
- Scotch Eggs
- Egg Fried Rice
Storing instructions
Hard-boiled eggs last up to a week when refrigerated in a well-sealed container. You can store them peeled or unpeeled. However, the shell acts as a protective barrier, helping maintain the eggs’ freshness and preventing them from absorbing other aromas and flavors floating around the fridge.
FAQs
The exact timing depends on the size of the eggs and how you like the yolks cooked. As a general guideline for cooking eggs on a gas stove, turn the heat off when the water reaches a rapid, bubbling boil, and allow the eggs to cook in the hot water for 10 minutes before transferring them to an ice bath.
For soft, runny yolks and partially set whites, start the timer for 4 minutes after the water starts boiling.
I’ve had the most success starting with cold water, so the eggs gradually come up to temperature and cook more evenly. This also reduces the risk of cracking the eggs. However, some home cooks swear by first bringing the water to a boil and then lowering the eggs into the pot.
Note: If you’re considering an egg cooker as an alternative for batch-cooking eggs, I have the Cuisinart egg cooker and love it.
More egg recipes you might like
- Gluten-Free Eggs Benedict
- Jalapeno Scrambled Eggs
- Gluten-Free Ham & Spinach Quiche
- Crustless Southwest Quiche Muffins
- Sausage and Egg Overnight Breakfast Casserole
If you love this hard-boiled egg guide, I would be so grateful if you could leave a 5-star 🌟rating in the recipe card below. I love reading your comments and feedback!
Stay posted on my latest cooking adventures through social media @ Instagram, Pinterest, and Facebook. Also, don’t forget to tag me when you try one of my recipes!
Perfectly Cooked Hard Boiled Eggs
Equipment
- Large cooking pot
Ingredients
- 12 eggs
- 1 tbsp salt
- 1 tsp baking soda
Instructions
- Place eggs in a large, empty pot. Cover with cold water going about an inch above the eggs.
- Add salt and baking soda and bring pot to a full, rolling boil over medium-high heat. As soon as the water gets to a full boil, turn off the heat (if it’s a gas stove, leave pot on the burner, if it’s electric then move it off of the hot burner to cool). Cover with a lid and set a timer for 10 minutes.
- Meanwhile, fill a large bowl with ice water.
- As soon as the timer goes off, transfer eggs to the ice bath and allow them to sit for about 5 minutes. Transfer to a sealed container (can be stored peeled or unpeeled) and keep in the refrigerator for up to a week.
Notes
-
- Start with room-temperature eggs. If you take the eggs out of the refrigerator about 30 minutes before cooking, they tend to cook more evenly.
- Do not overcrowd the pot. The pot must have the capacity for the number of eggs you’re cooking to float freely as the water starts to boil.
- Use older eggs. Slightly older eggs (around 1-2 weeks old) are often easier to peel after boiling than fresher ones.
- Poke a tiny hole in the eggshell. Another trick is piercing the bottom of the shell (the wider end) with a sanitized needle before boiling to help the shell separate when peeling.
- Add vinegar to the water. Adding a splash of vinegar to the boiling water can help prevent cracking and make the eggs easier to peel. If a crack occurs, the vinegar helps coagulate the egg whites before they leak from the shell.
- Control the heat and set a timer. Start the eggs in cool water. Once the water reaches a full, rolling boil, remove the pot from the heat and leave it for 10 minutes. If you have a gas stove, turn the range off, but leave the pot on the burner.
- Do NOT skip the ice bath! Immediately plunging the eggs into an ice bath stops the cooking process. Shocking the eggs this way helps create a small gap between the egg white and the shell, making them easier to peel.
Nutrition
- Easy Chicken Spinach Casserole - February 9, 2026
- Mini Biscoff Cheesecakes (High Protein!) - January 26, 2026
- Slow Cooker Beef and Black Bean Chili - January 21, 2026


Thank you Emily! 🙂
Great tips Amee, I agree – they make a great breakfast on the go!
You are very welcome, Bree! The timing and the baking soda really makes a difference. 🙂
I love hard boiled eggs and have yet to make a successful one-seriously! Thanks for the tips!
Hi Aimee!
I love your tips! Somehow I always forget the timing with hard-boiling eggs!
My tip is to add chopped chunky, not too small, fresh green bell pepper in plain old mayonnaisey egg salad! Delicious!
Thank you Patty! I love bell pepper in egg salad! Great tip! 🙂