Vitamix Strawberry Ice Cream
This post may contain affiliate links. Please read my disclosure policy.
Learn how to make Vitamix Strawberry Ice Cream with the push of a button on your blender! This quick and easy no-churn method results in a luxurious batch of soft-serve strawberry ice cream you can enjoy immediately -no further freezing necessary! *Ninja Creami variation included.
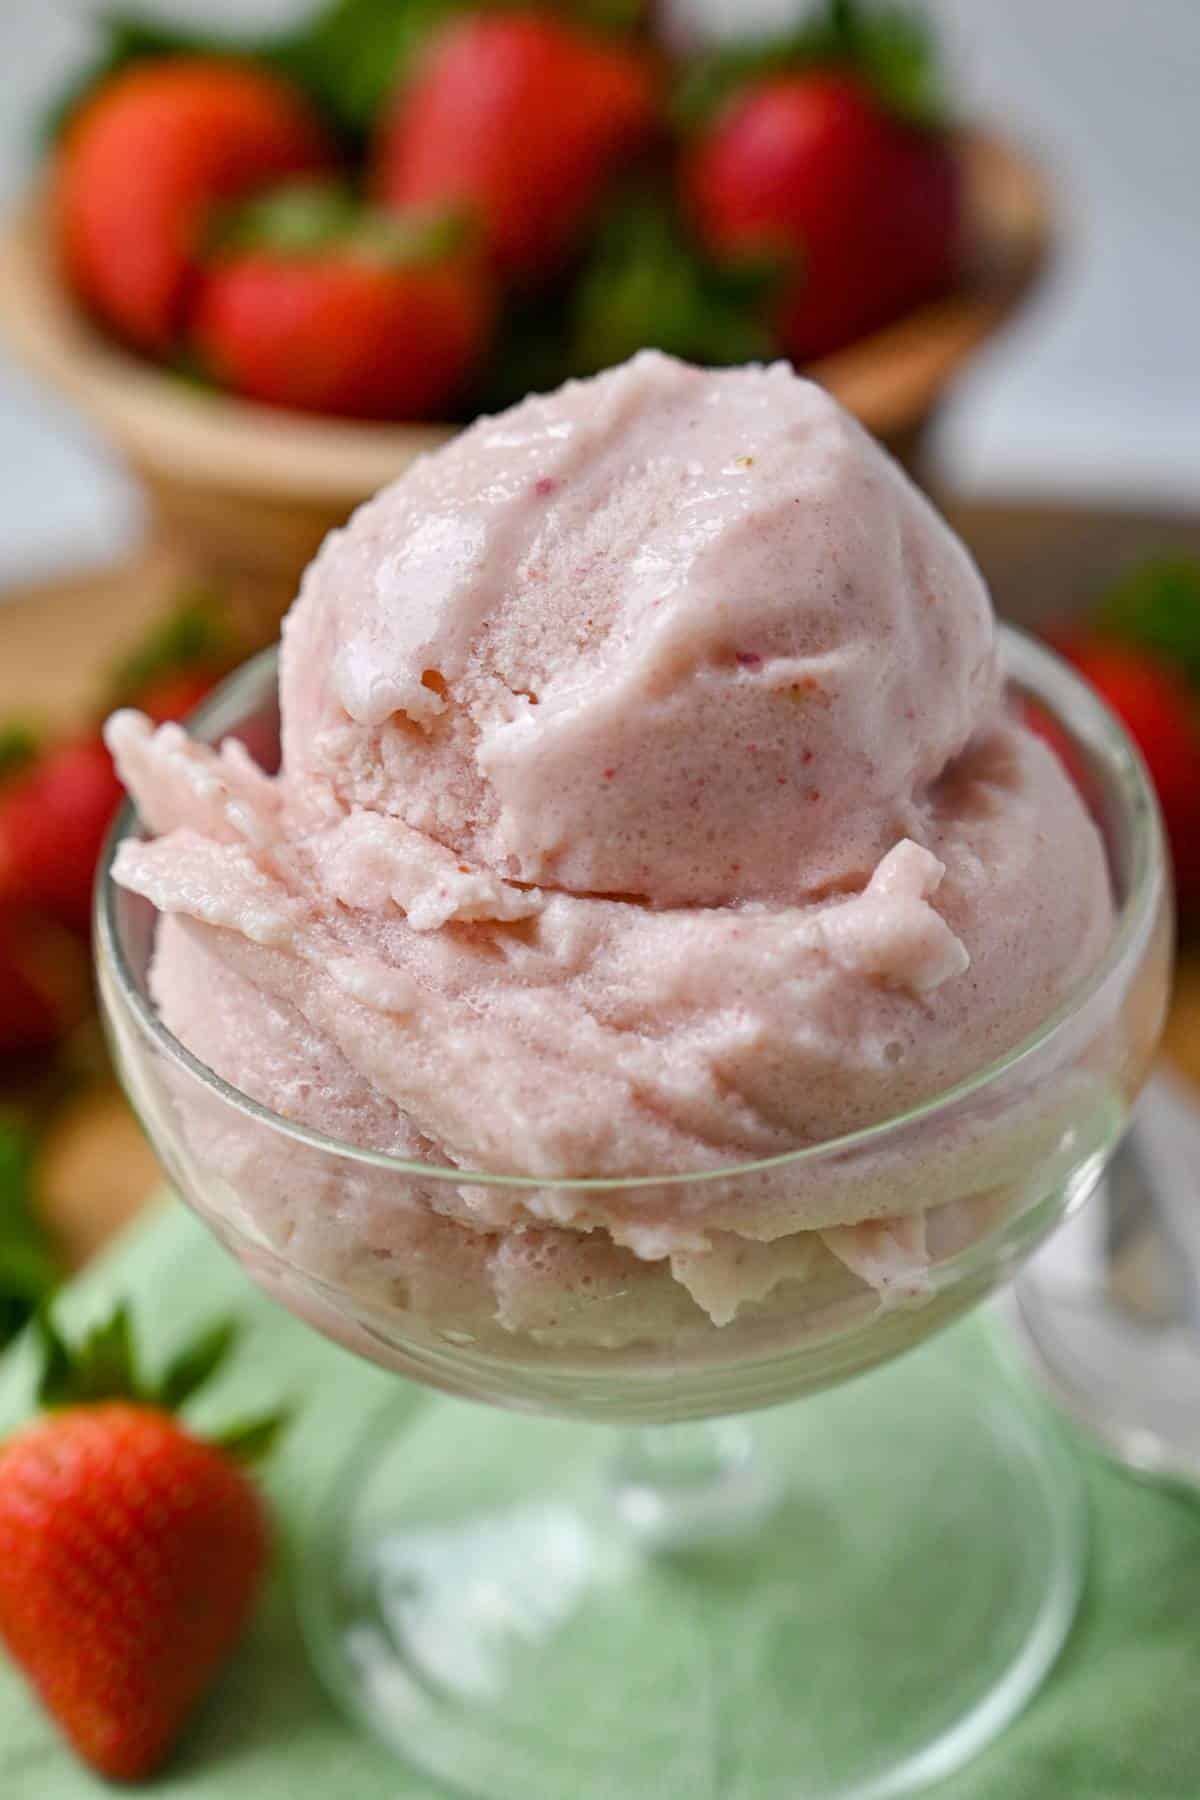
If you ask me, there’s nothing more satisfying than a creamy scoop of soft-serve strawberry ice cream on a hot summer day. While you may think this delightful experience requires a trip to the local ice cream parlor or investing in a fancy ice cream maker, that’s not the case!
This strawberry ice cream recipe offers a simpler, more accessible solution! With the power of a Vitamix or any other heavy-duty blender or food processor, you can make your very own smooth and creamy strawberry ice cream!
All you need are basic ingredients and a reliable blending mechanism to make the magic happen. The best part? The texture is best immediately after blending, so you can indulge right away!
Why you’ll love this recipe
- Fuss-free, no-freeze method. Whipping up strawberry ice cream in a Vitamix is a straightforward process that doesn’t require churning or waiting for the ice cream base to freeze. The result is a refreshing creamy treat showcasing fresh strawberries’ natural sweetness.
- Great for summer get-togethers. This cold, sweet treat will impress your taste buds and guests the next time you host a get-together.
- Made with fresh or frozen strawberries. Blender strawberry ice cream is a great way to showcase the succulence of in-season strawberries, but you can also use frozen strawberries for year-round satisfaction.
Ingredients you’ll need
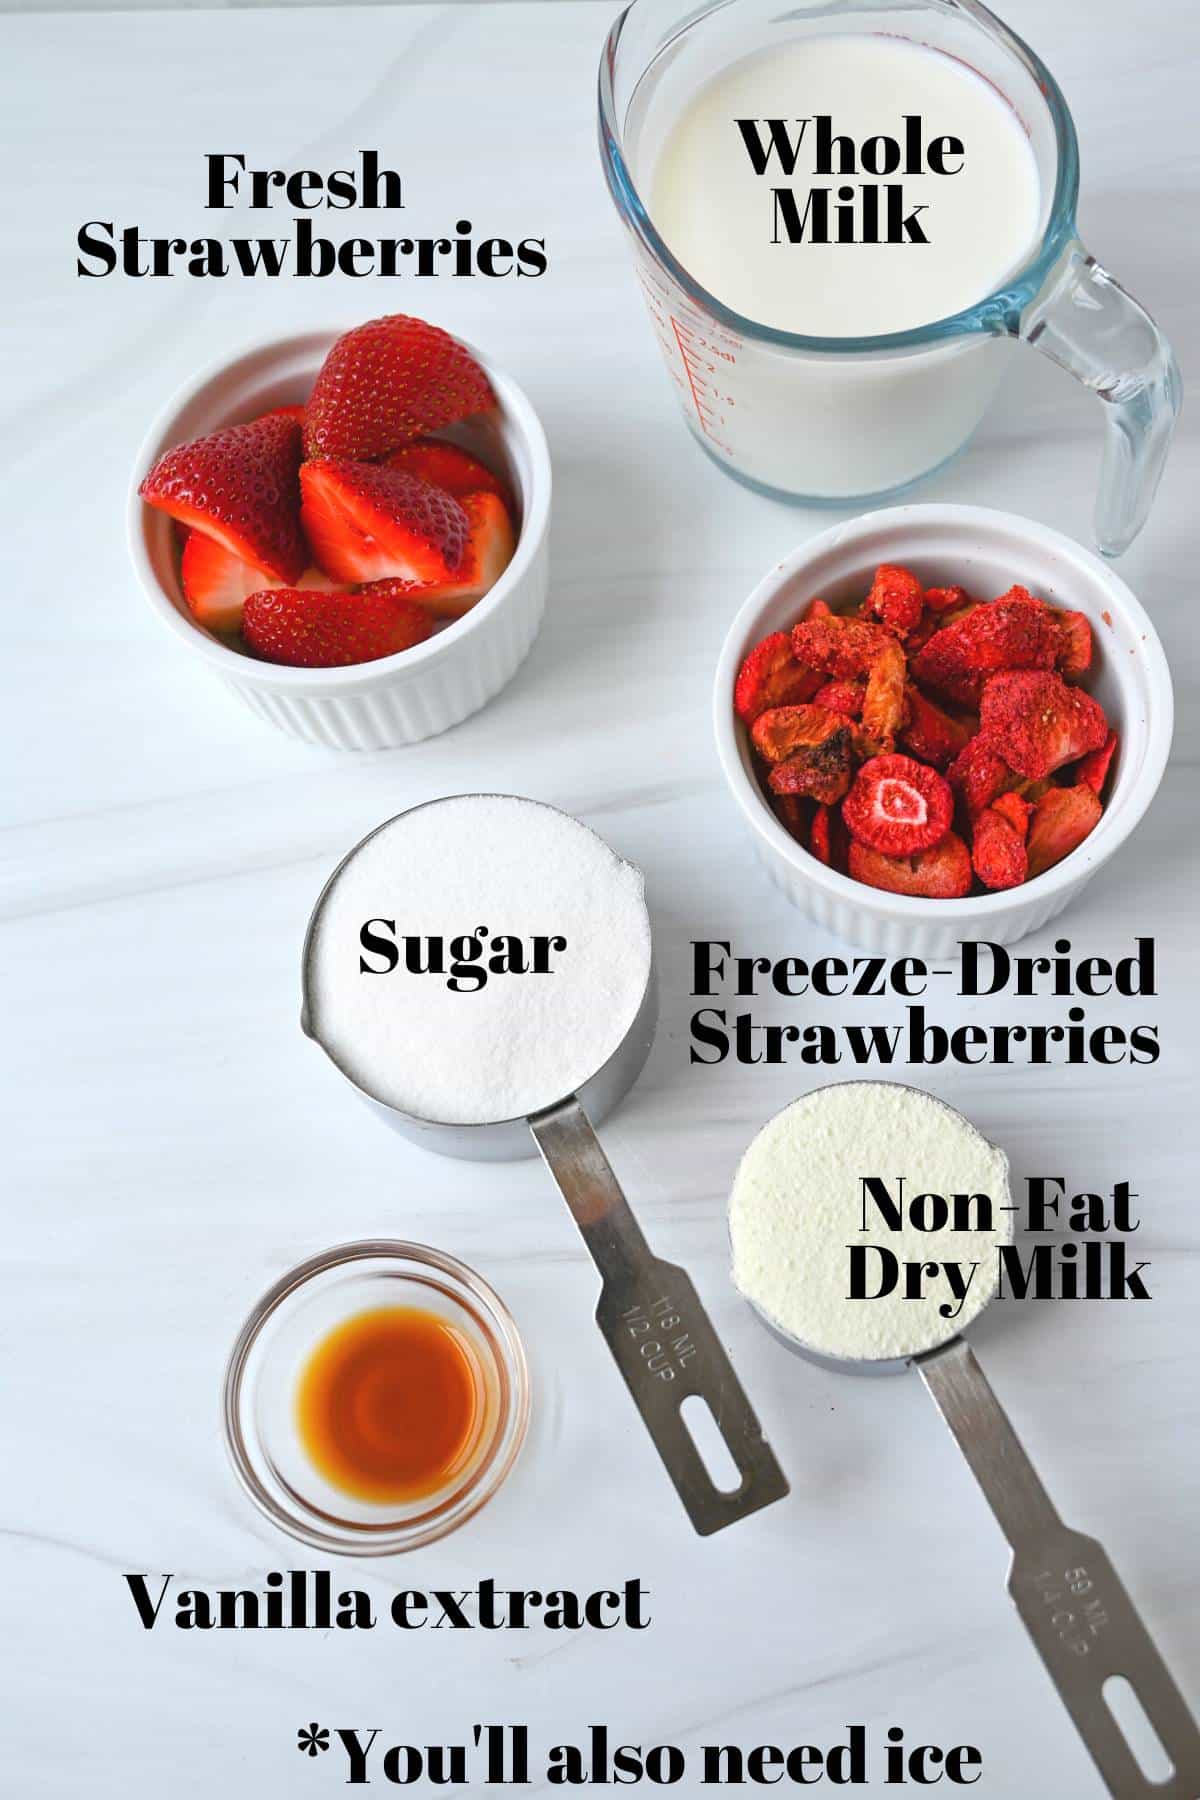
- Whole milk – The fat in whole milk acts as a natural emulsifier, creating a thick, velvety texture. I use Fairlife whole milk, as it contains more protein and less sugar than regular milk.
- Granulated sugar – Adds sweetness and helps create a cohesive creamy consistency.
- Non-fat dry milk – Helps bind the ingredients together while enhancing the depth of dairy flavor.
- Vanilla extract – Adds a touch of sweetness and warmth.
- Strawberries – I highly recommend using perfectly ripened fresh strawberries when they’re in season. Otherwise, go with frozen strawberries and thaw them in the fridge before use.
- Freeze-dried strawberries – These intensify the strawberry-liciousness, absorb excess moisture, and naturally deepen the pretty pink color. I get them from Trader Joe’s, but you can find them in the same section as raisins and other freeze-dried fruits in most grocery stores. Omit for a mild strawberry taste, but I highly recommend adding them in for the best flavor.
- Ice cubes – Of course, you can use good old frozen H20. Or, for an extra layer of creaminess, try freezing whole milk in ice cube trays. You can use all frozen milk cubes or equal parts regular and milk.
How to make strawberry ice cream in a blender
Step 1: Assemble the blender. Place all ingredients in the pitcher jar of a Vitamix blender in the following order: milk, sugar, dry milk, vanilla extract, fresh strawberries, dried strawberries, and finally, ice. Secure the lid in place.
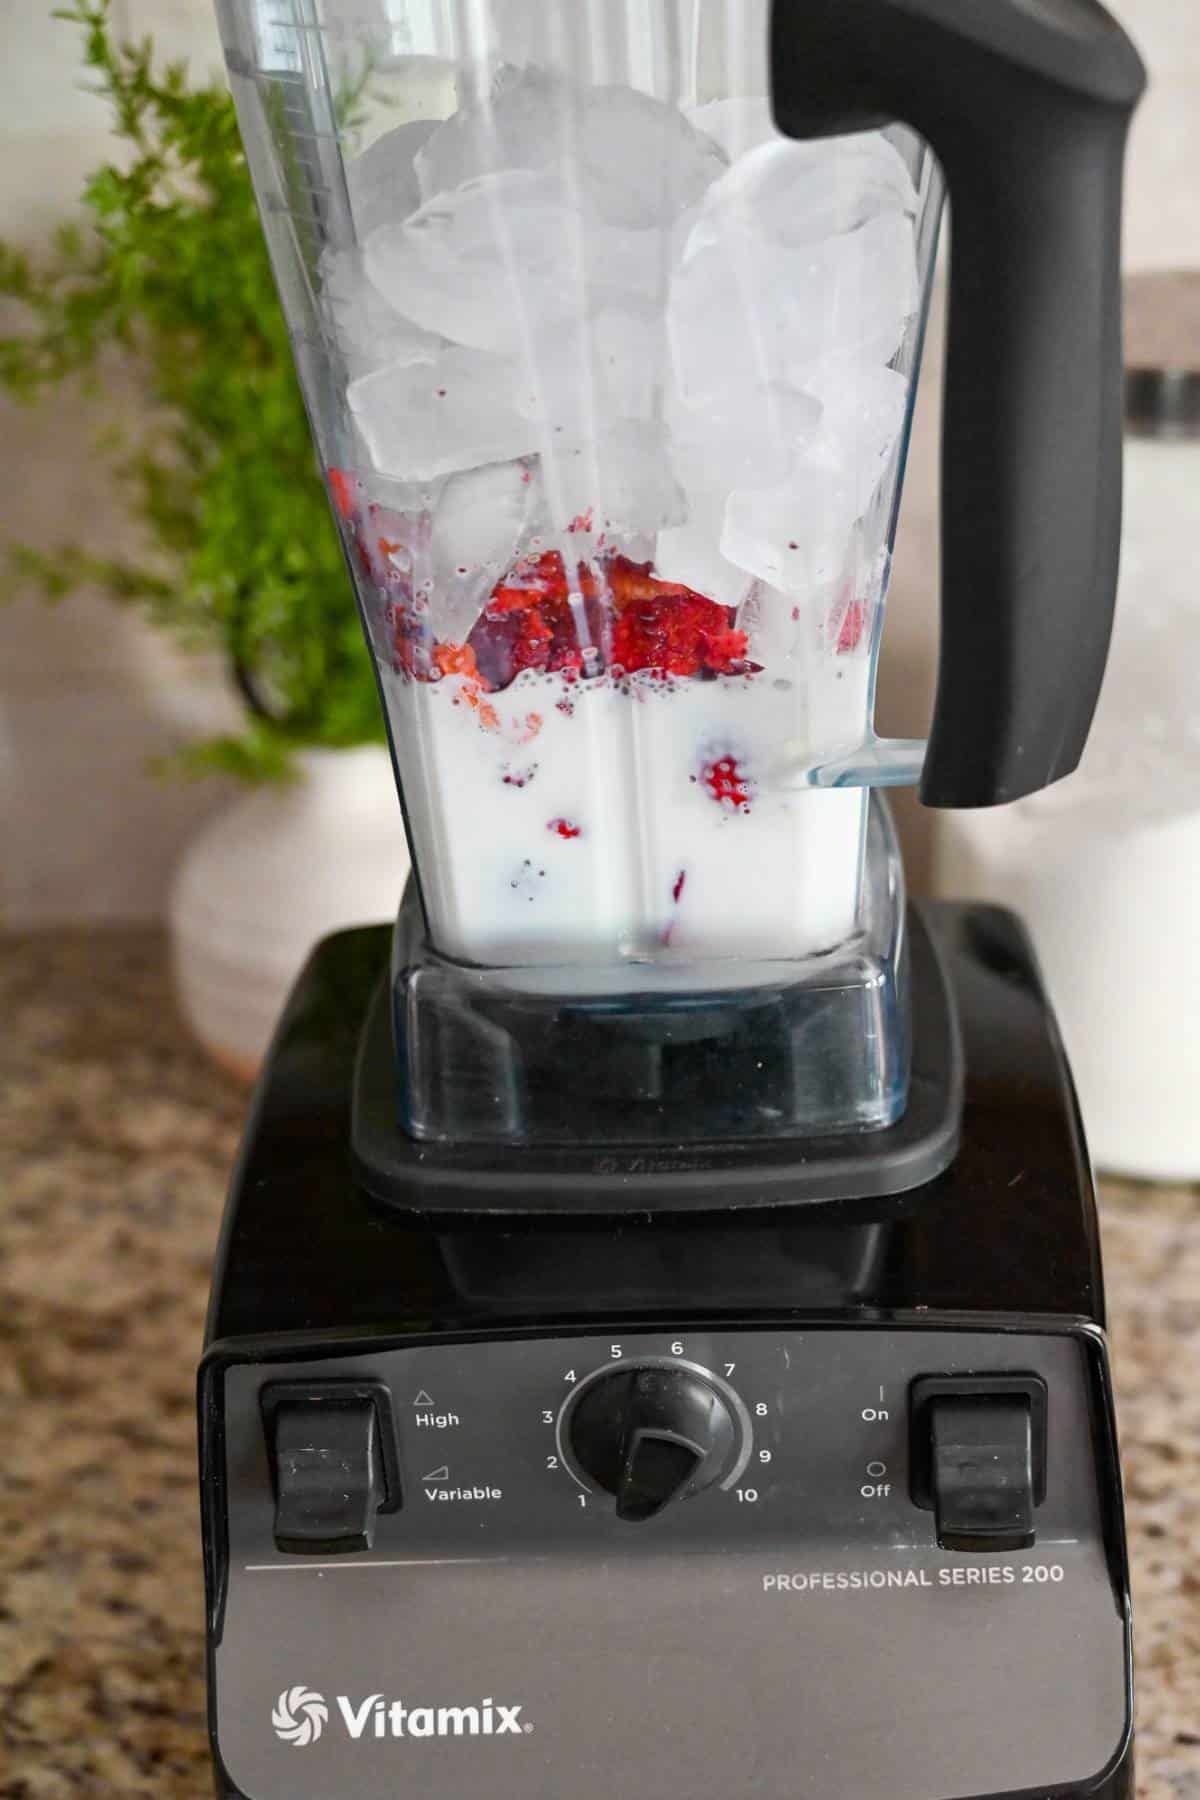
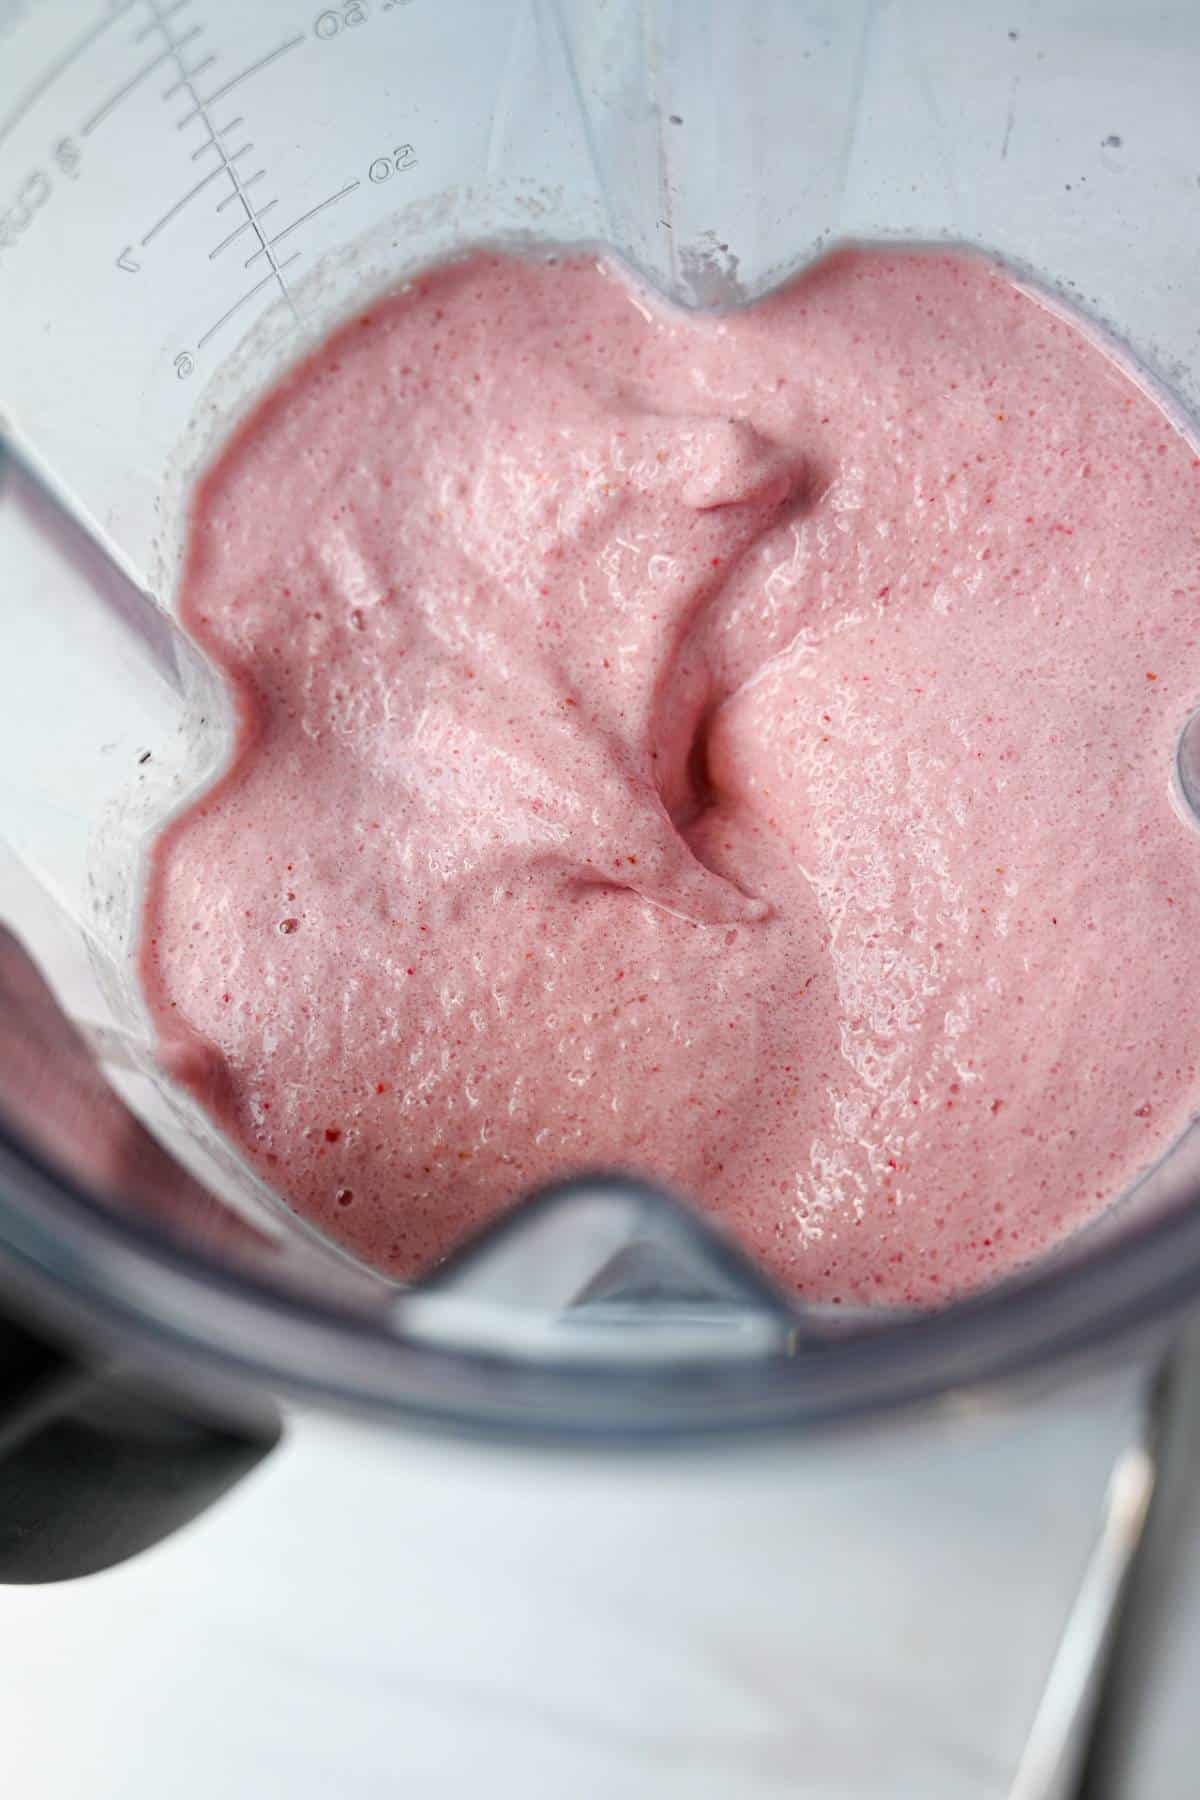
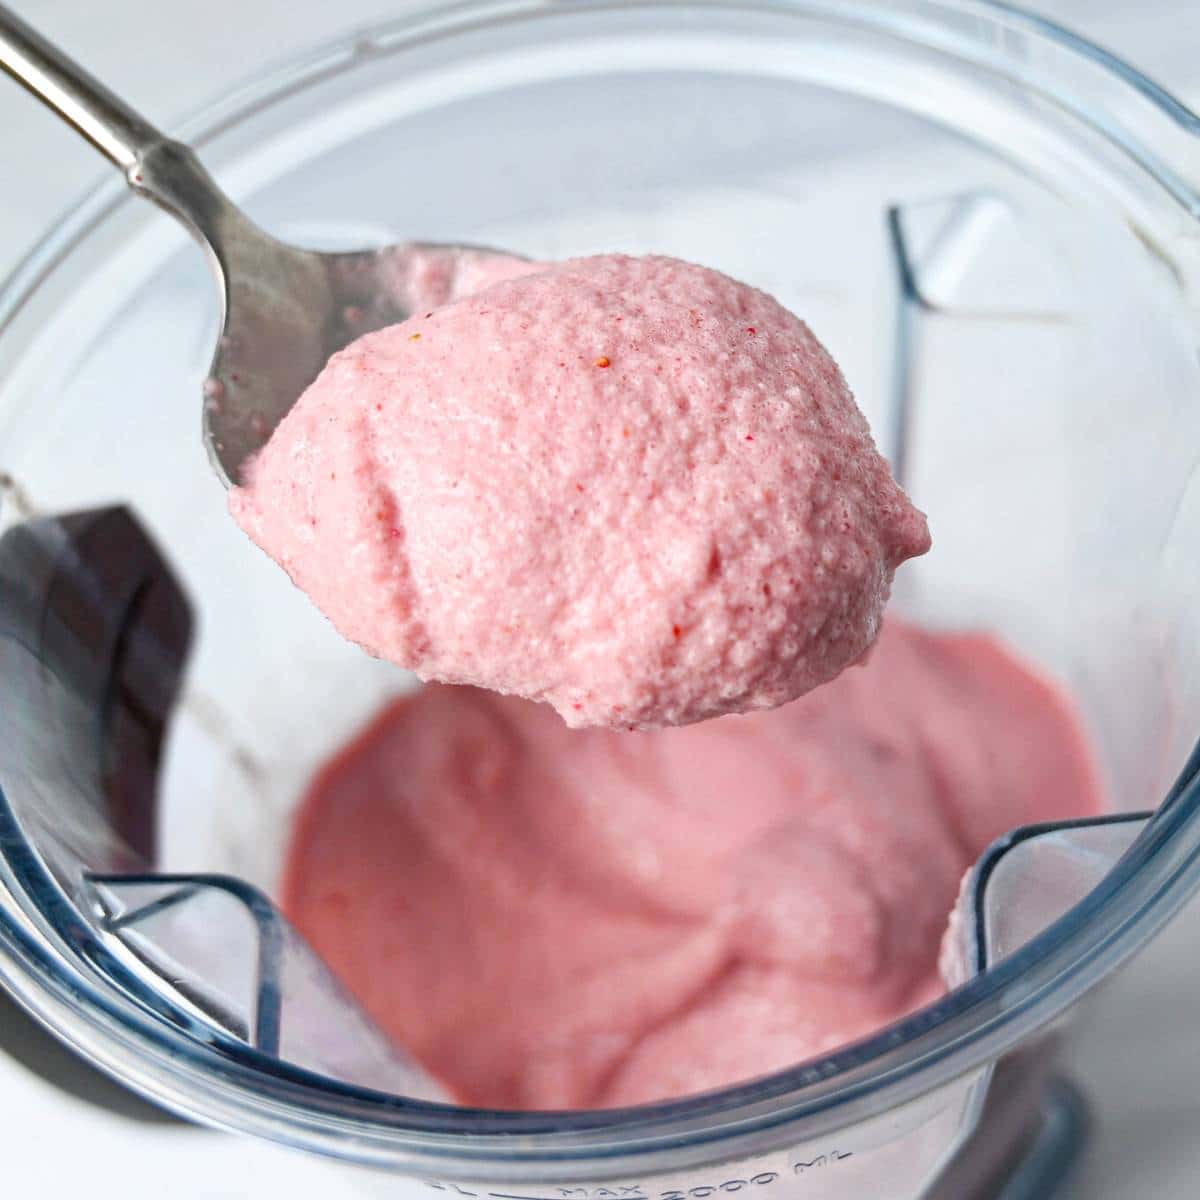
Step 2: Blend the ice cream base. Start blending on ‘Variable 1,’ then increase the speed to ‘Variable 10’. Use the tamper to press the ingredients into the blades, and continue blending until the sound of the motor changes and smooth mounds of ice cream form. Portion into dessert dishes, and enjoy!
Ninja Creami Option
If you have a Ninja Creami machine and want to make Ninja Creami strawberry ice cream, just add all ingredients, except the ice, into the blender and blend until smooth. Pour it into the Creami freezer container, seal it with the lid, and freeze overnight. We tried this method with our new Creami machine and it worked perfectly!
Recipe tips
- Start at a low speed. Begin blending on low speed before increasing it to high. Continue blending until a smooth, thick, creamy soft-serve ice cream develops. This helps relieve some of the wear and tear on the motor and blades.
- Pause and scrape the sides. Depending on your blender model, you may need to periodically pause the blender and scrape down the sides with a spatula to ensure the ingredients are well-incorporated.
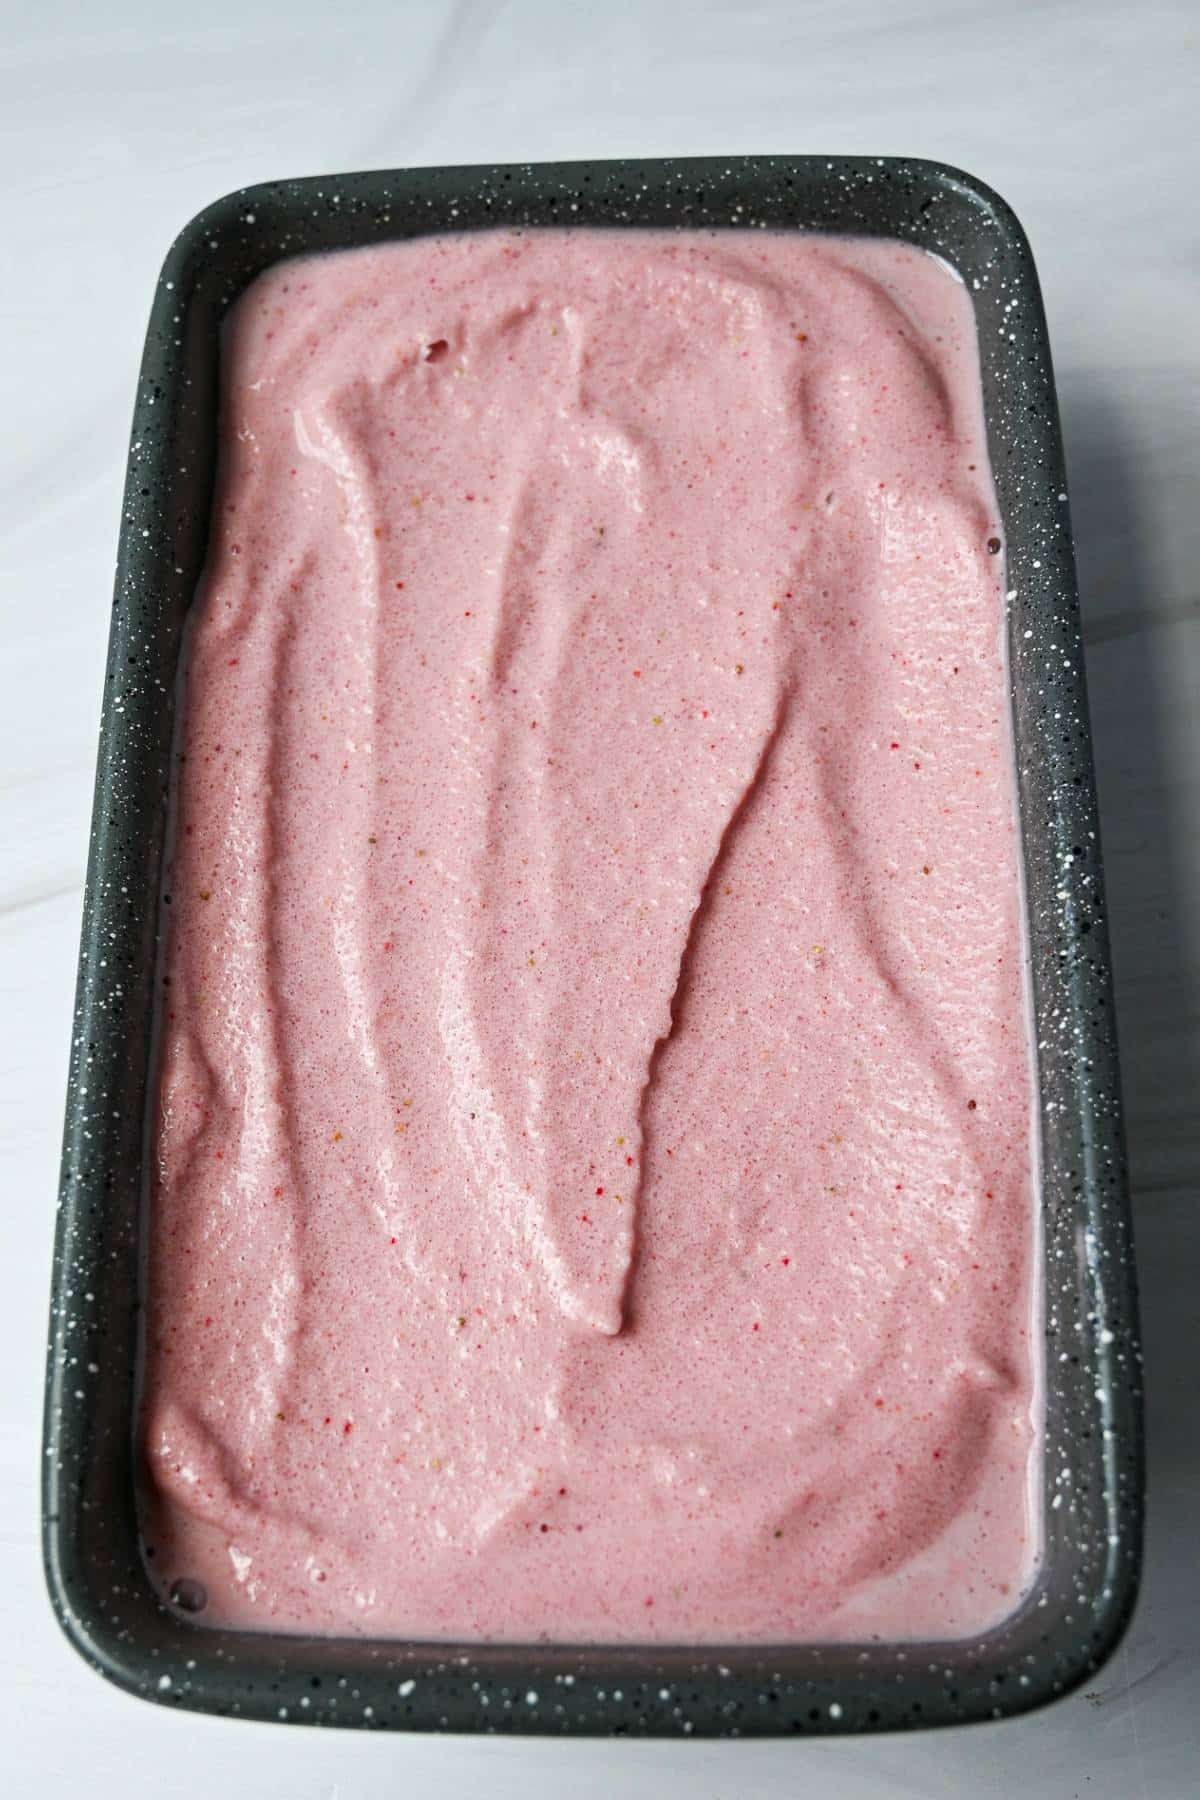
- Serve immediately. The delectable texture and silky mouthfeel are best when served immediately after blending. However, I did test freezing it in a wax-paper-lined loaf pan for a few hours to make it more scoopable. It worked, but the consistency is definitely better when enjoyed ASAP.
Flavor variations
While strawberries are classic, don’t be afraid to explore other Vitamix ice cream flavors, like chocolate, pina colada, and strawberry banana. Here are more fruity ice cream flavors you can make with a blender. Simply swap the strawberries with your desired fresh or thawed frozen fruit and proceed with the recipe:
- Apricot
- Blueberry
- Blackberry
- Cherry
- Coconut
- Raspberry
- Peach
- Pineapple
Storing
This Vitamix ice cream should be enjoyed immediately after blending the ingredients for the best taste and texture. Still, you can pour the ice cream into a wax-paper-lined loaf pan, press another piece of wax paper tautly on the top so it doesn’t overly harden, and freeze for 1 month.
FAQs
This recipe makes approximately 1½ quarts of ice cream or six 1-cup servings.
I haven’t tested this blender ice cream recipe specifically with dairy-free ingredients, but I have made dairy-free chocolate ice cream in a Vitamix. With the success of that recipe in mind, I’m pretty confident you can substitute the whole milk for full-fat canned coconut milk and the dry milk for a vegan vanilla protein powder in this recipe to create a creamy non-dairy strawberry soft-serve.
According to my calculations, this recipe contains approximately 230 calories per two-scoop serving (about 1 cup).
More Vitamix blender recipes you’ll love
- Blender Oatmeal Protein Pancakes
- Blender Chocolate Protein Pancakes
- Vitamix Chocolate Ice Cream
- Vitamix Salsa
- Vitamix Lime Mint Sorbet
If you love this Vitamix blender ice cream, I would be so grateful if you could leave a 5-star 🌟rating in the recipe card below. I love reading your comments and feedback!
Stay posted on my latest cooking adventures through social media @ Instagram, Pinterest, and Facebook. Also, don’t forget to tag me when you try one of my recipes!
Vitamix Strawberry Ice Cream
Equipment
- 1 Vitamix Blender or similar high-powered blender
Ingredients
- 1 cup Fairlife whole milk *I use Fairlife whole milk for an added protein boost, regular whole milk works here too.
- 1/2 cup granulated sugar
- 1/4 cup non-fat dry milk
- 1 tsp vanilla extract
- 4 large strawberries stems removed, sliced
- 3/4 cup freeze dried strawberries I use the Trader Joe's brand. They add rich strawberry flavor without watering down the ice cream
- 4 cups ice cubes *you can freeze whole milk in ice cube trays and use milk cubes or 1/2 milk cubes/half ice here
Instructions
- Place all of the ingredients into the Vitamix container in the order listed and secure the lid.
- Select Variable 1, then quickly increase the speed to Variable 10, then high.
- Use the tamper to press the ingredients into the blades. In 30-60 seconds, the sound of the motor will change and 4 mounds will form.
- Immediately stop the machine and pour into serving dishes.
Notes
Nutrition
- Easy Chicken Spinach Casserole - February 9, 2026
- Mini Biscoff Cheesecakes (High Protein!) - January 26, 2026
- Slow Cooker Beef and Black Bean Chili - January 21, 2026


Can’t wait to try these recipes before investing in an expensive ice cream machine.
Confused about ninja machine recipe. Do you leave out the milk that goes into the ice cubes?
Hi Elena! For the Ninja creami just leave out the additional ice, and just make it with the milk and other ingredients. The ice or frozen milk cubes in the Vitamix version is needed to create the right ice cream texture. Since the ninja recipe gets frozen before blending, the frozen milk cubes or ice aren’t needed. We love the creami version!!