Summer Squash Pie {Gluten-Free Option}
This post may contain affiliate links. Please read my disclosure policy.
This easy Summer Squash Pie features a creamy custard-based filling made with simple ingredients, including yellow squash, sugar, coconut, and vanilla, baked in a flaky, buttery crust. Top it with fresh whipped cream or a scoop of ice cream for the whole Southern experience!

Yellow summer squash is one of my all-time favorite summer veggies. While it’s undeniably delicious in savory dishes like stuffed squash and squash casserole, it also makes one heck of a dessert –specifically, this yellow summer squash pie!
In this post, I’m excited to share everything you need to make this rich and creamy squash pie, from step-by-step instructions and tips and tricks to creative variations and serving suggestions. So, grab your apron, and let’s dig into the sweeter side of summer squash.
What is summer squash pie?
So, what exactly is summer squash pie? It’s essentially a Southern spin on the classic pumpkin pie, but we’re using fresh, juicy yellow summer squash instead of pumpkin.
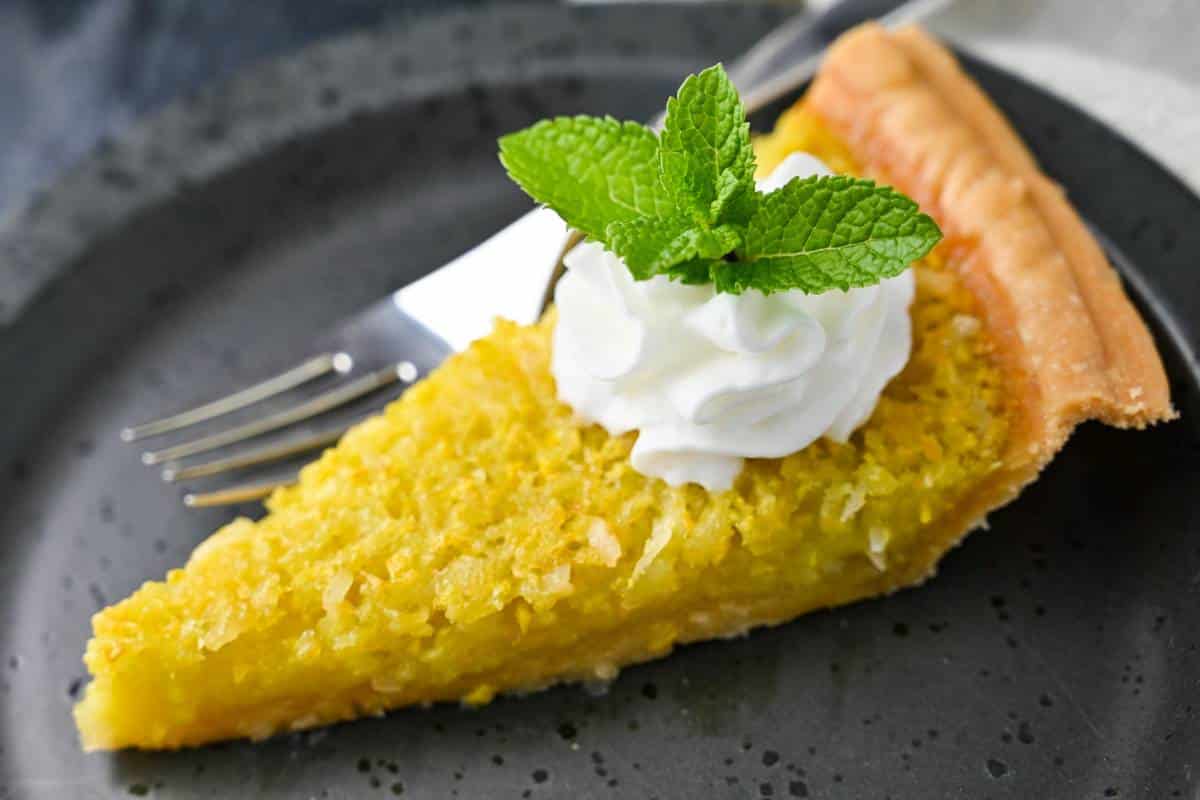
Picture a velvety, sweet custard-based filling made with yellow squash, sugar, coconut, eggs, a splash of vanilla, and a touch of flour baked in a buttery, flaky pie crust. Speaking of the crust, I blind-baked a store-bought pie crust for this recipe, but you can use any crust you like.
Why you’ll love it
Ready to fall head over heels for a pie that embodies the warmth and charm of Southern cooking? Here’s why this pie is a must-try for any squash or dessert lover:
- Beginner-friendly. With simple, no-nonsense ingredients and straightforward instructions, making this pie is a breeze whether you’re a novice or a pro.
- Irresistibly rich and creamy. Indulge in the heavenly custard-based filling, complemented by the subtle sweetness of yellow squash and coconut.
- Delicious summer dessert. With whipped cream or vanilla bean ice cream, it’s the perfect way to beat the summer heat. Not to mention, it’s a great way to use up a surplus of seasonal summer squash.
Ingredients you’ll need
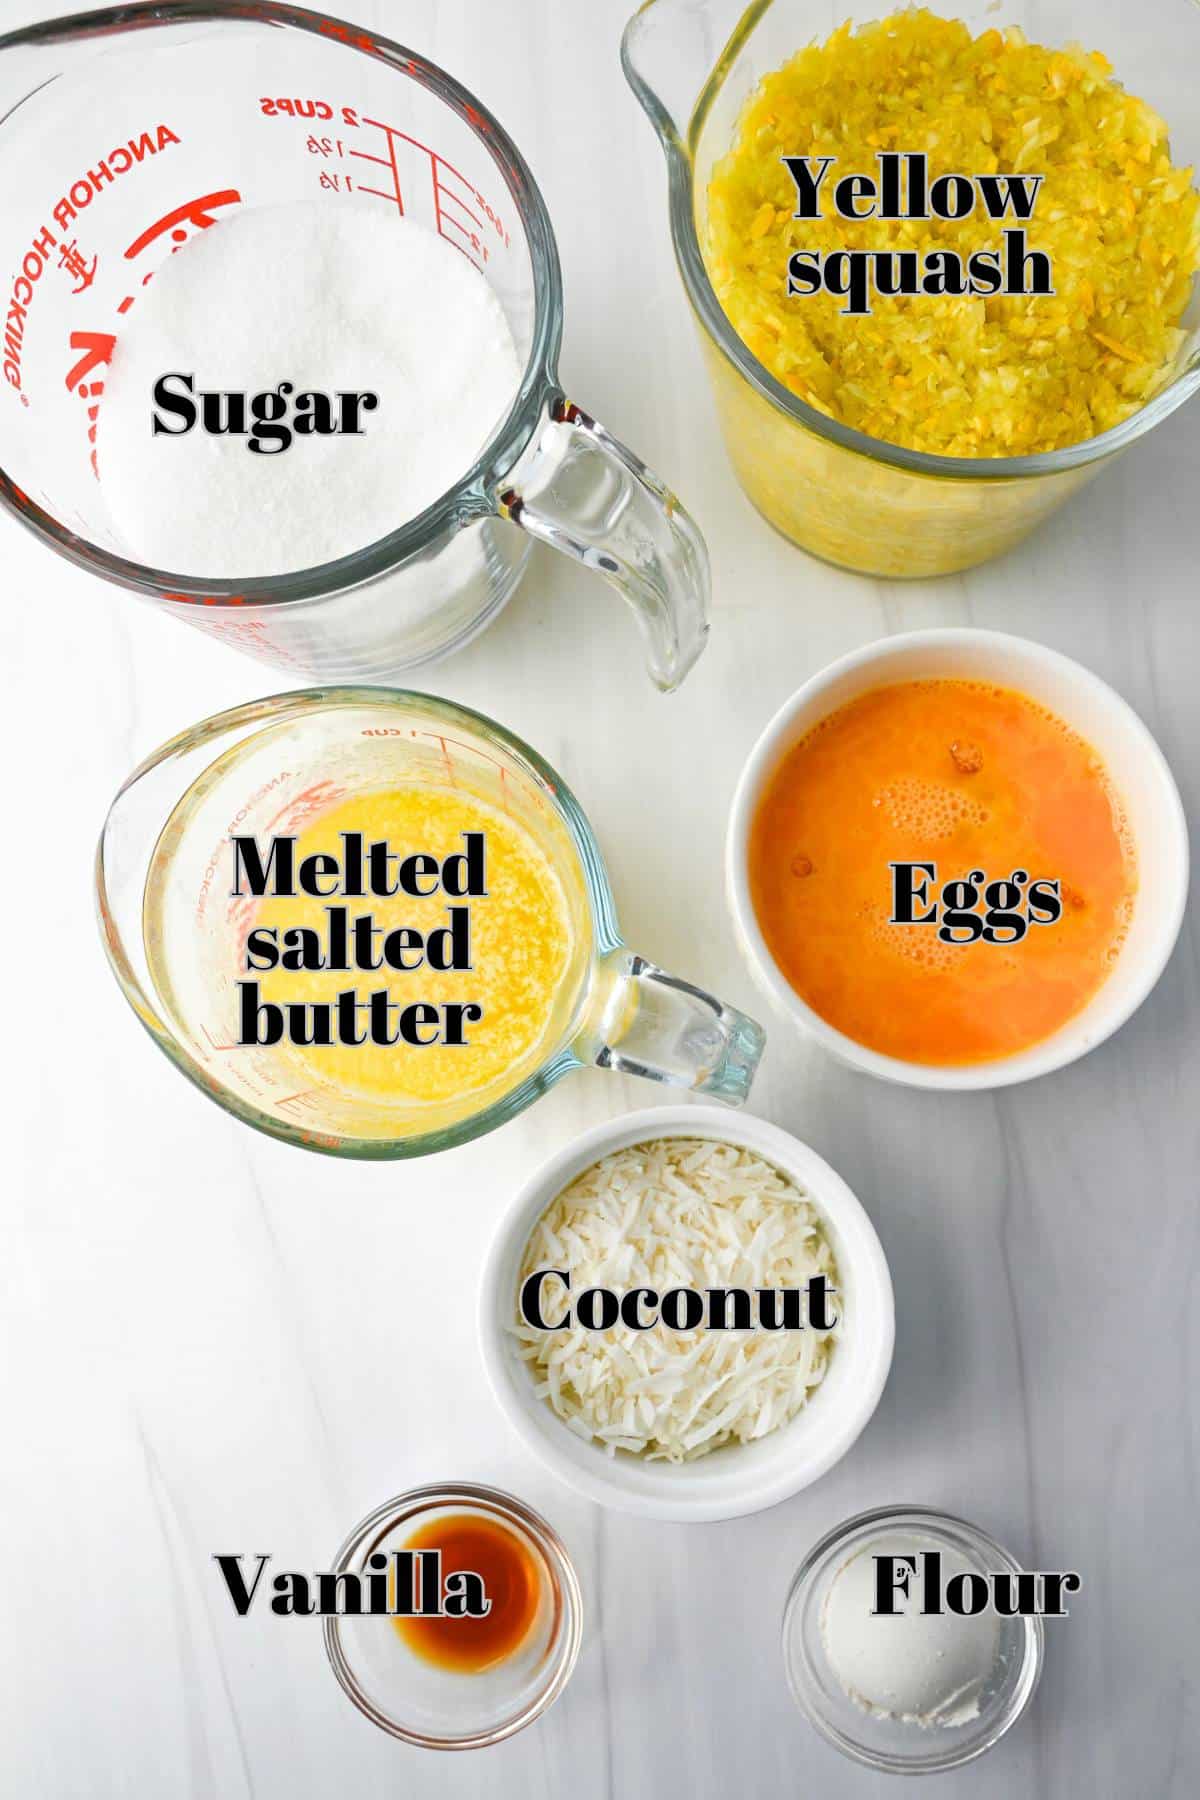
- Pie crusts. Blind-bake your favorite store-bought or homemade pie dough in advance (for a filled crust), and allow the crusts to cool completely. Trader Joe’s makes a good buttery refrigerated pie crust at a great price point, but it can get a little crumbly when you try to unroll it. If you are okay with shaping and rolling it out, it’s a good option. You can also use gluten-free pie crusts. Be sure to use regular pie crust, not deep dish for this recipe. I love the Wholly Wholesome organic crusts. I opt for crusts that do not contain hydrogenated fats.
- Yellow squash. Veggies in a dessert pie may seem odd, but summer squash offers a sweet and creamy base flavor. Opt for fresh yellow squash with smooth, firm skin. Be sure to finely grate it so it blends smoothly into the filling.
- Sugar. I used regular sugar, but feel free to substitute an alternate granular sweetener based on dietary preference. Adjust the amount based on your taste for sweetness.
- Eggs. Help bind the ingredients together and provide structure to the pie. Beat the eggs before adding them.
- Butter. Adds richness and enhances flavor. Melt the butter before adding it.
- Flour. Helps thicken the filling and prevent it from being too runny. You can use regular all-purpose flour or opt for gluten-free all-purpose flour.
- Unsweetened flaked coconut. Adds a subtle sweet and creamy flavor and helps thicken the pie filling.
- Vanilla extract. Use pure vanilla extract, or substitute lemon extract for the vanilla extract for a citrus twist.
How to make squash pie
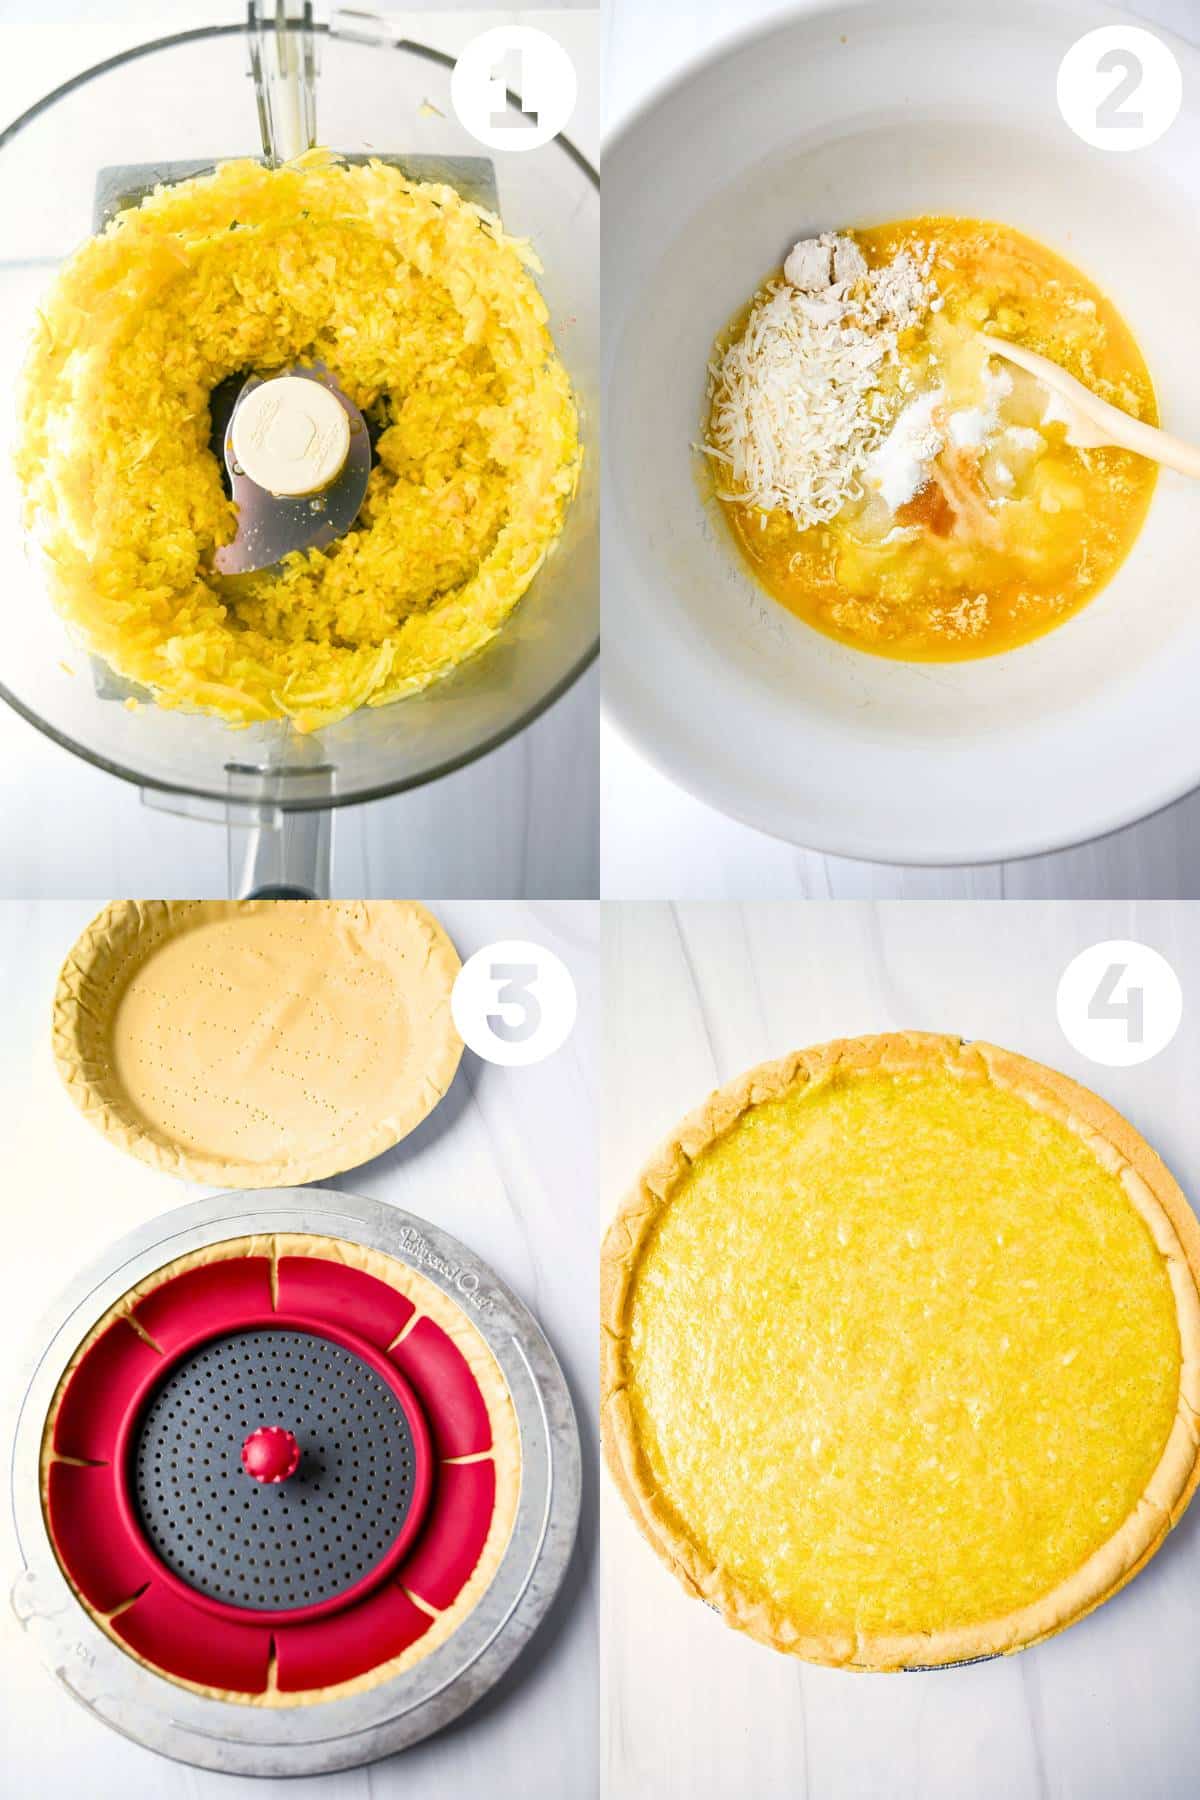
Step 1: Prepare for blind baking. Preheat your oven according to the instructions on the pie crust packaging. Meanwhile, line your pie pans with the pie crusts, pressing the dough firmly against the bottom and sides. Line the crusts and fill them with pie weights.
Step 2: Par-bake the pie crust. Place the pie pans on a baking sheet, poke holes on the bottom with a fork, and bake until the edges of the crusts are set and just beginning to brown (I par-baked my crusts at 375℉ for 12-15 minutes). Let the crusts cool completely.
Step 3: Finely grate the squash. Preheat the oven to 350℉. Meanwhile, place the yellow squash in a food processor and pulse until very finely shredded.
Step 4: Mix the pie filling. Transfer the grated squash to a large bowl. Add the remaining ingredients and stir with a wooden spoon until combined.
Step 5: Assemble the pies and bake. Pour the filling into the prepared crusts and bake until the filling is set and lightly golden on top (about 40 minutes).
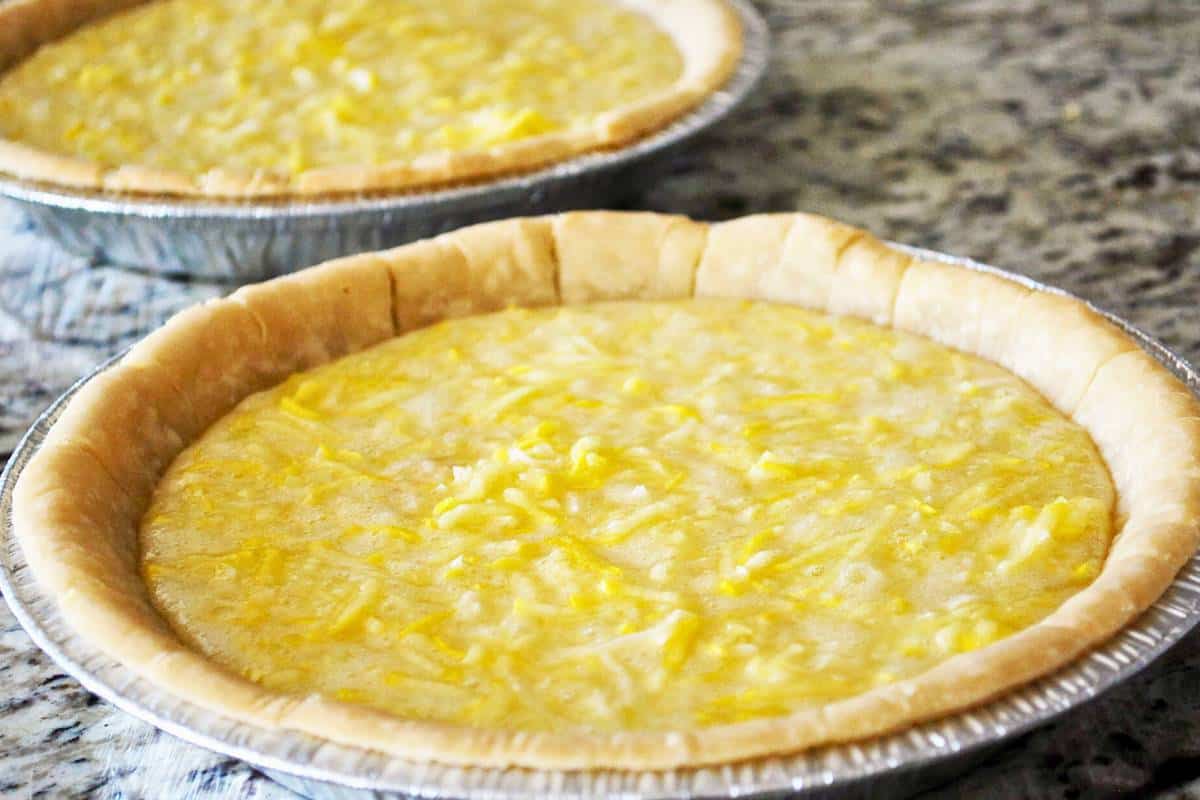
Step 6: Cool and serve. Remove from the oven and let cool slightly on a wire rack before serving warm with a scoop of ice cream and/or whipped cream.
Tips for success
- Chill the crust before blind baking. If you have time, spread the pie dough in the pans and refrigerate them for 15-30 minutes. This helps prevent the crust from shrinking during baking.
- Use pie weights. Line the chilled crusts with parchment paper, aluminum foil, or a metal edge cover, then fill the crusts with pie weights, like this metallic pie weight, these bead pie weights, or dried beans before par-baking.
- Check for bubbles. Use a fork to poke holes in the bottom of the crust before baking. If you notice any air bubbles forming under the crust during blind baking, gently press them down with the back of a spoon.
- Cool the par-baked crusts completely. Allowing the crusts to cool before adding the filling mixture ensures they remain crisp and cohesive.
- Grate the squash finely. I prefer grating the squash as finely as possible to create a smooth, silky filling, but feel free to shred it a bit thicker if you want a bit of texture to contrast the creaminess. I use a food processor with a grating blade, which only takes about 30 seconds.
- Remove excess moisture. After grating the squash, consider squeezing it with a clean kitchen towel, paper towel, or cheesecloth to remove the excess moisture and help prevent a watery filling.
- Don’t overmix the filling. Mix the filling ingredients with a wooden spoon until just combined to avoid incorporating too much air, which can result in a puffy or cracked pie.
- Check for over-browning. If you notice the edges of the crust are browning too quickly, cover them with aluminum foil or a pie edge cover to keep them from burning while the filling finishes baking.
Customize it
Don’t hesitate to customize your yellow squash pie to your taste preferences. Here are some delicious ideas:
- Alternate squash varieties. Experiment with butternut squash, acorn squash, pumpkin, or whatever sweet and creamy squash variety is in season.
- Spiced version. Add a dash of warming flavor with spices like cinnamon, nutmeg, and ginger.
- Hint of citrus. Brighten up your pie with a hint of citrus zest from lemon or orange.
- Add chopped nuts, such as pecans or walnuts, to the filling or sprinkle them on top for added crunch and flavor.
Storing instructions
Storing: Allow squash pie to cool completely, then cover it loosely with plastic wrap or aluminum foil and store it in the refrigerator for 3-4 days.
Freezing: Wrap the cooled pie tightly with plastic wrap, followed by a layer of aluminum foil, and store in the freezer for 2-3 months. Thaw overnight in the refrigerator before reheating or serving chilled.
FAQ
Yes, I often use thawed frozen crusts for convenience, just be sure to par-bake the crust before adding the custardy squash filling so you don’t end up with a soggy crust.
The pie is done baking when the center is set and slightly firm to the touch. You can also insert a knife into the center; if it comes out clean, it’s ready!
Slices of squash pie pair perfectly with a scoop of vanilla ice cream, frozen yogurt, or a dollop of freshly whipped cream. Drizzle caramel sauce over top for an extra indulgent treat.
More easy pie recipes you’ll love
- Crustless Coconut Pie
- Fresh Strawberry Pie (No-Sugar Added)
- Blood Orange Meringue Pie
- Cool Whip Chocolate Pie
- Light Coconut Cream Pie
If you love this yellow squash pie recipe, I would be so grateful if you could leave a 5-star 🌟 rating in the recipe card below. I love reading your comments and feedback!
Stay posted on my latest cooking adventures through social media @ Instagram, Pinterest, and Facebook. Also, don’t forget to tag me when you try one of my recipes!


Summer Squash Pie {Gluten Free Option}
Ingredients
Instructions
- Pre-bake the pie crust according to package directions. *see notes
- Preheat oven to 350 degrees F.
- Slice the squash in half, trim off the ends, and scoop out the seeds. Very finely grate the squash using a hand grater or food processor.
- Combine all ingredients in a large bowl with a wooden spoon until well blended.
- Pour into prepared pie crusts and bake 40-45 minutes or until lightly golden on top.
- Cool slightly and serve warm. It’s amazing with a small scoop of vanilla ice cream or frozen yogurt on top!
Notes
- Chill the crust before blind baking. If you have time, spread the pie dough in the pans and refrigerate them for 15-30 minutes. This helps prevent the crust from shrinking during baking.
- How to par-bake the pie crust. Place the pie pans on a baking sheet and bake until the edges of the crusts are set and just beginning to brown (I par-baked my crusts at 375℉ for 15 minutes- check them at 12 minutes since oven temps vary). Let the crusts cool completely.
- Use pie weights. Line the chilled crusts with parchment paper, aluminum foil, or a metal edge cover, then fill the crusts with pie weights, like this metallic pie weight, these bead pie weights, or dried beans before par-baking.
- Check for bubbles. Use a fork to poke holes in the bottom of the crust before baking. If you notice any air bubbles forming under the crust during blind baking, gently press them down with the back of a spoon.
- Cool the par-baked crusts completely. Allowing the crusts to cool before adding the filling mixture ensures they remain crisp and cohesive.
- Grate the squash finely. I prefer grating the squash as finely as possible to create a smooth, silky filling, but feel free to shred it a bit thicker if you want a bit of texture to contrast the creaminess. I use a food processor with a grating blade, which only takes about 30 seconds.
- Remove excess moisture. After grating the squash, consider squeezing it with a clean kitchen towel, paper towel, or cheesecloth to remove the excess moisture and help prevent a watery filling.
- Check for over-browning. If you notice the edges of the crust are browning too quickly, cover them with aluminum foil or a pie edge cover to keep them from burning while the filling finishes baking.
Nutrition
- Cheesy Chicken Fajita Casserole - February 18, 2026
- Easy Chicken Spinach Casserole - February 9, 2026
- Mini Biscoff Cheesecakes (High Protein!) - January 26, 2026



I’ve had sweet potato pie and pumpkin pie – but never squash pie! Looks delicious!