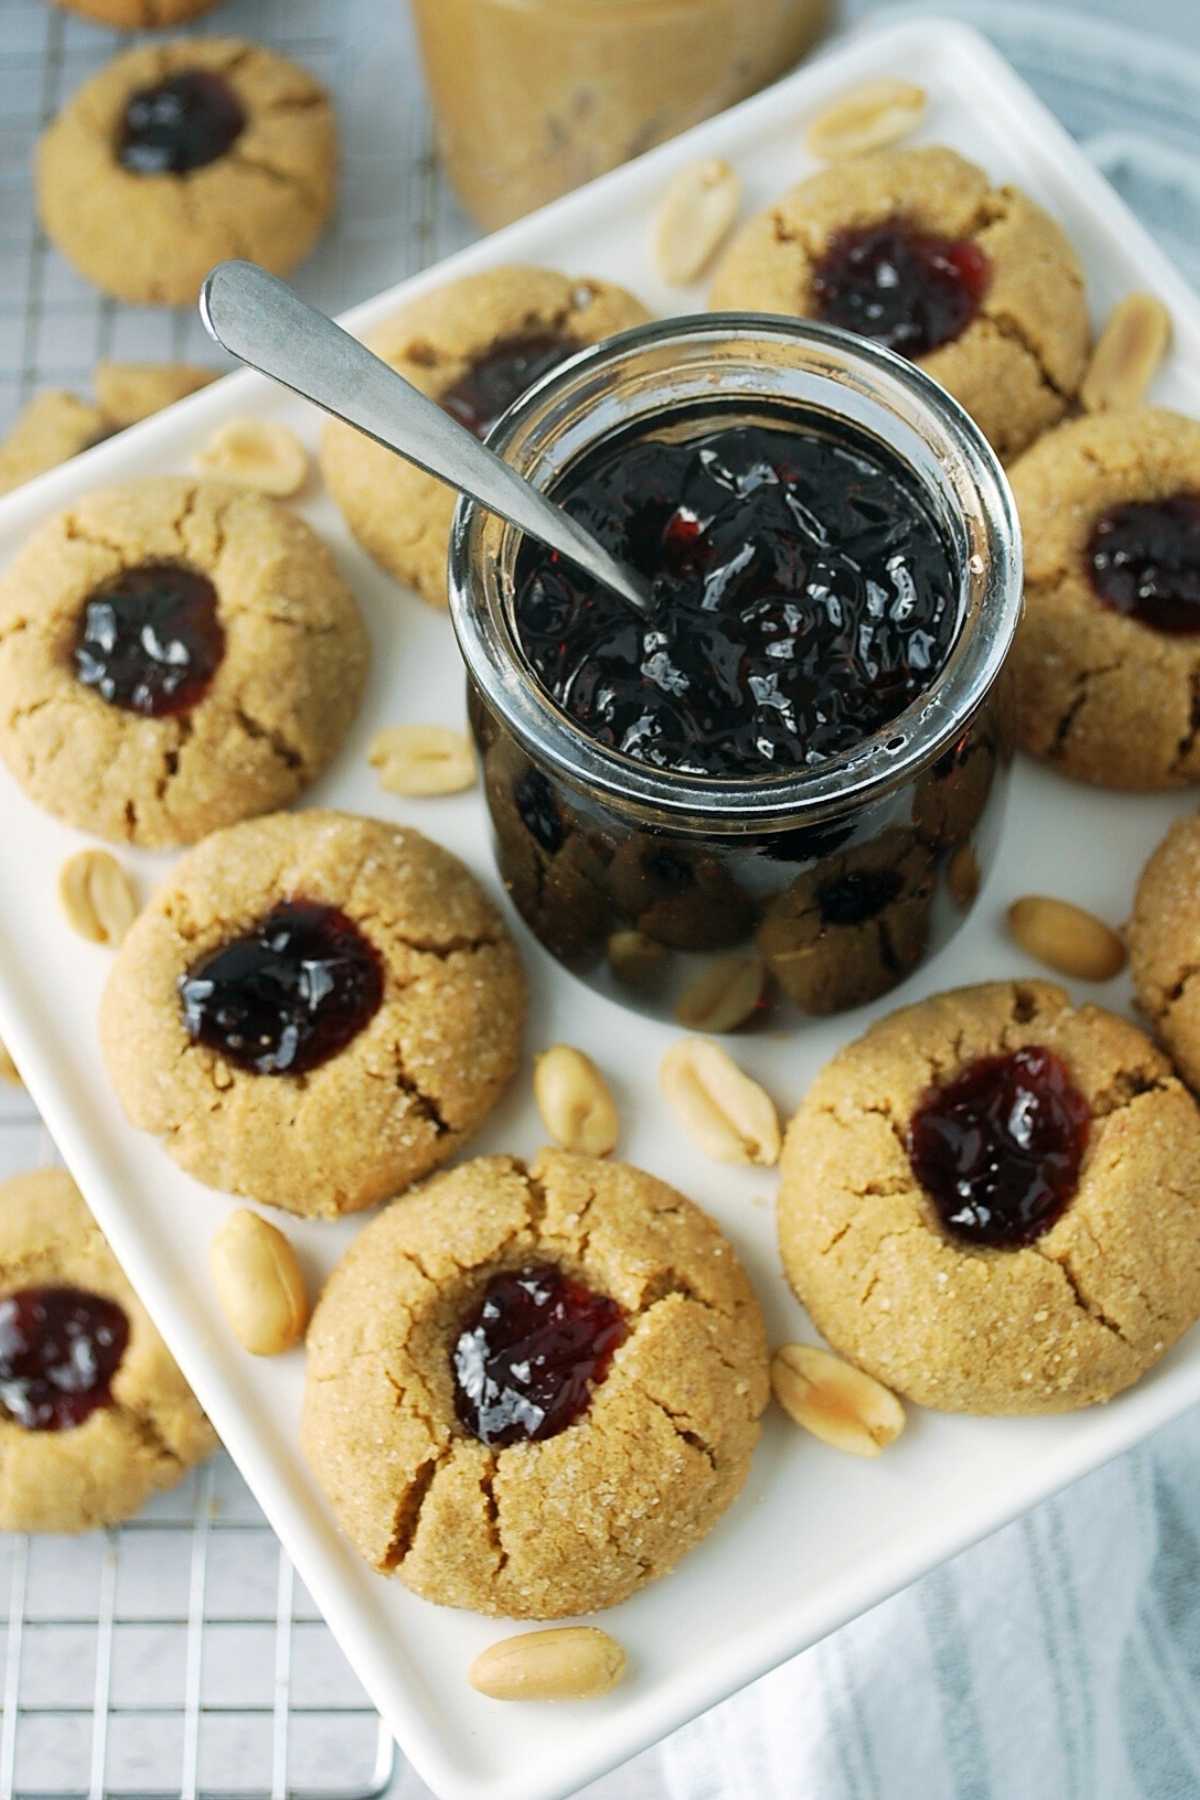
Peanut Butter Thumbprint Cookies {Gluten-Free}
This post may contain affiliate links. Please read my disclosure policy.

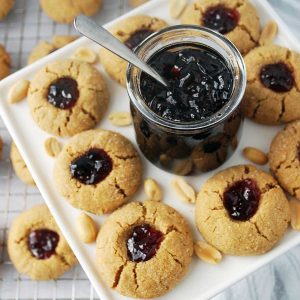
These peanut butter thumbprint cookies are delicious, soft peanut butter cookies filled with all-fruit preserves in the center. These gluten-free peanut butter and jelly cookies are easy and incredibly delicious! Betcha can’t eat just one!
Ingredients you’ll need
Adapted from Martha Stewart Recipes *Makes 3 dozen cookies
- Oat flour- make sure it’s certified gluten-free
- All-purpose GF baking flour- King Arthur measure-for-measure gluten-free flour recommended for best results
- Leavening ingredients- baking powder and baking soda
- Salt
- Creamy peanut butter- go with no-stir creamy peanut butter for best results, like Jif Naturals
- Unsalted butter- softened to room temperature
- Brown sugar
- Egg- for binding the cookie dough
- Vanilla extract- go with a good quality vanilla here
- Additional granulated sugar-for rolling cookie balls
- All-fruit preserves- for filling (flavor of choice, but I love grape for this recipe)
How to make peanut butter thumbprint cookies
Step 1. Preheat the oven to 350 degrees F. and line 2 baking sheets with parchment paper.
Step 2. In the bowl of an electric mixer, blend butter and peanut butter until smooth and creamy. In a separate bowl, whisk together the oat and all-purpose gluten-free flour, baking powder, baking soda, and salt.
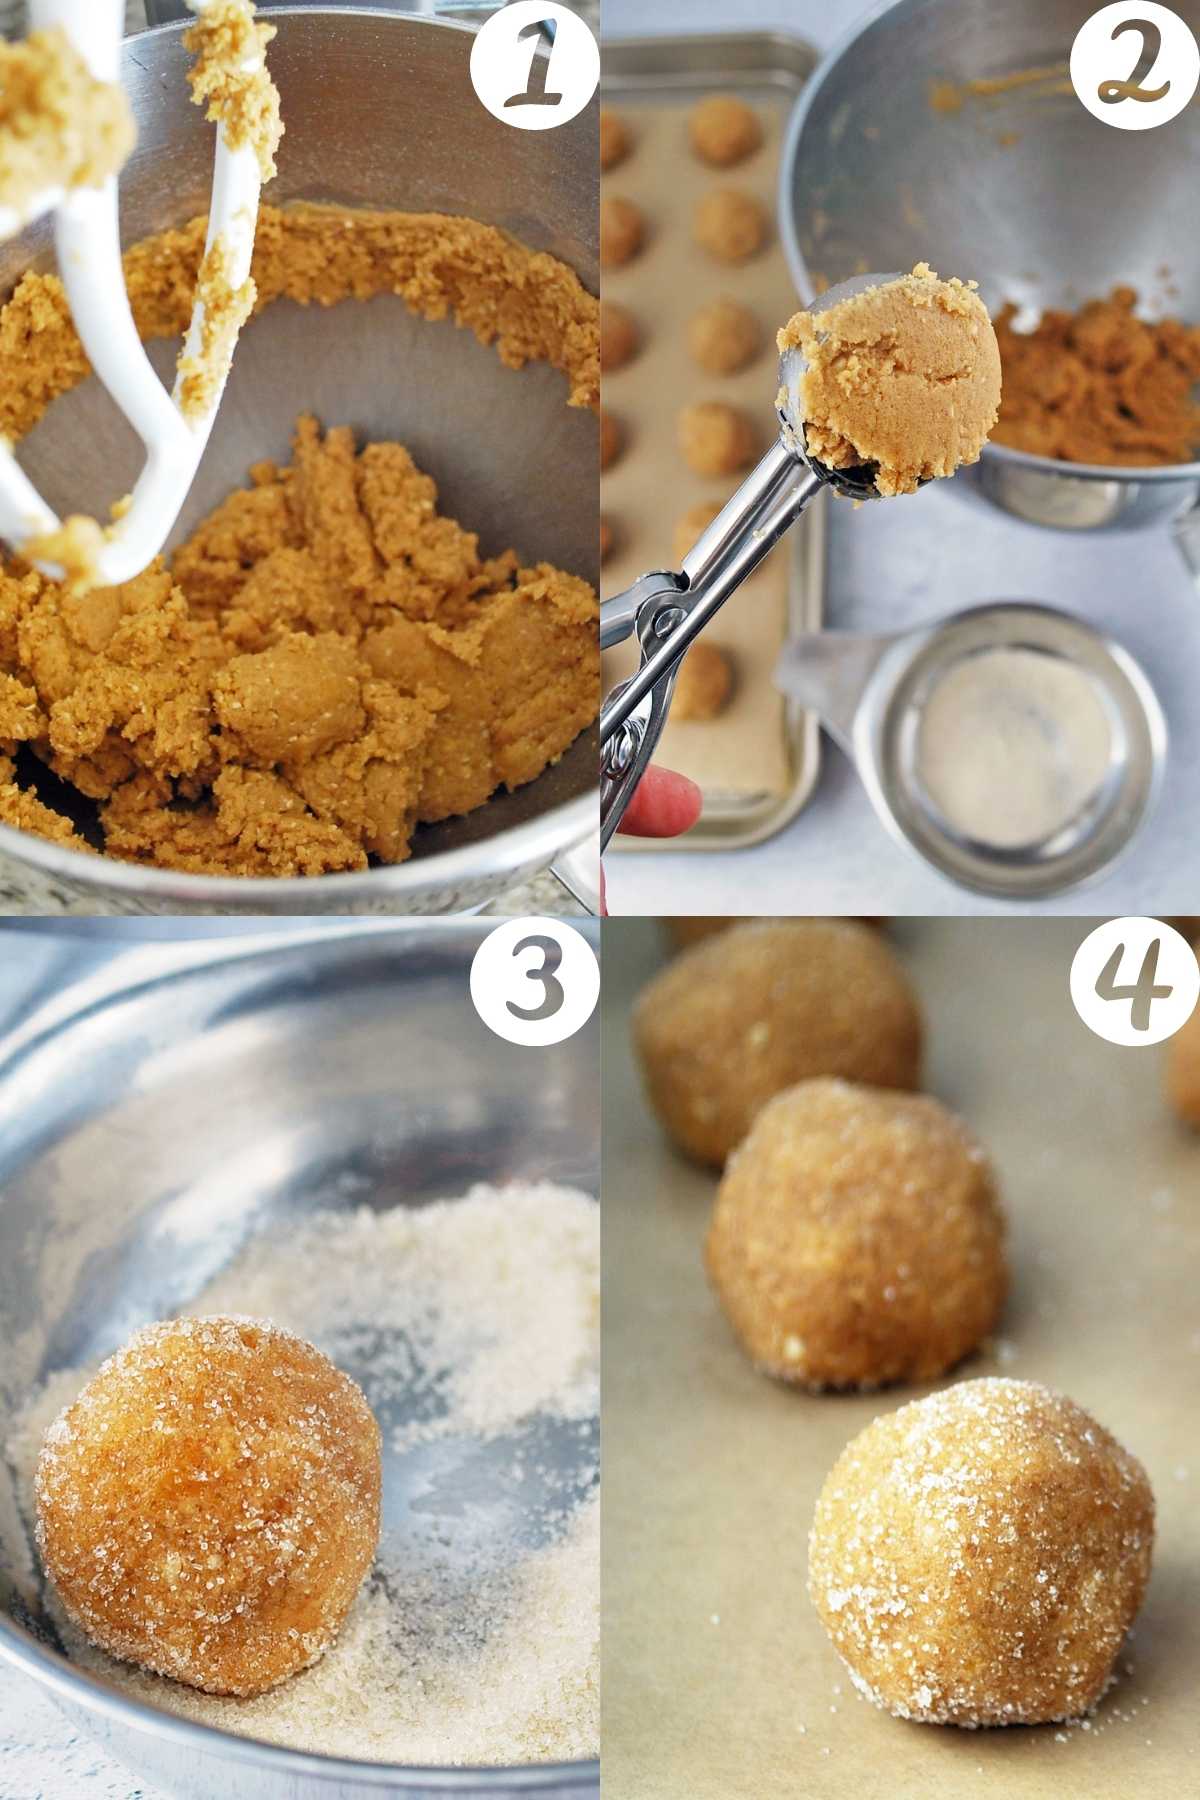
Step 3. Add the brown sugar to the peanut butter mixture and blend until smooth. Next, add the egg and vanilla, and beat until incorporated. Reduce speed to low. Add dry ingredients, and mix until combined.
Step 4. Scoop level tablespoons of dough, and form into balls. Roll into tablespoon-sized balls, then roll in the sugar to coat.
Step 5. Transfer cookie balls to parchment-lined baking sheets, spacing about 2 inches apart. Bake until cookies are puffy, about 10 minutes.
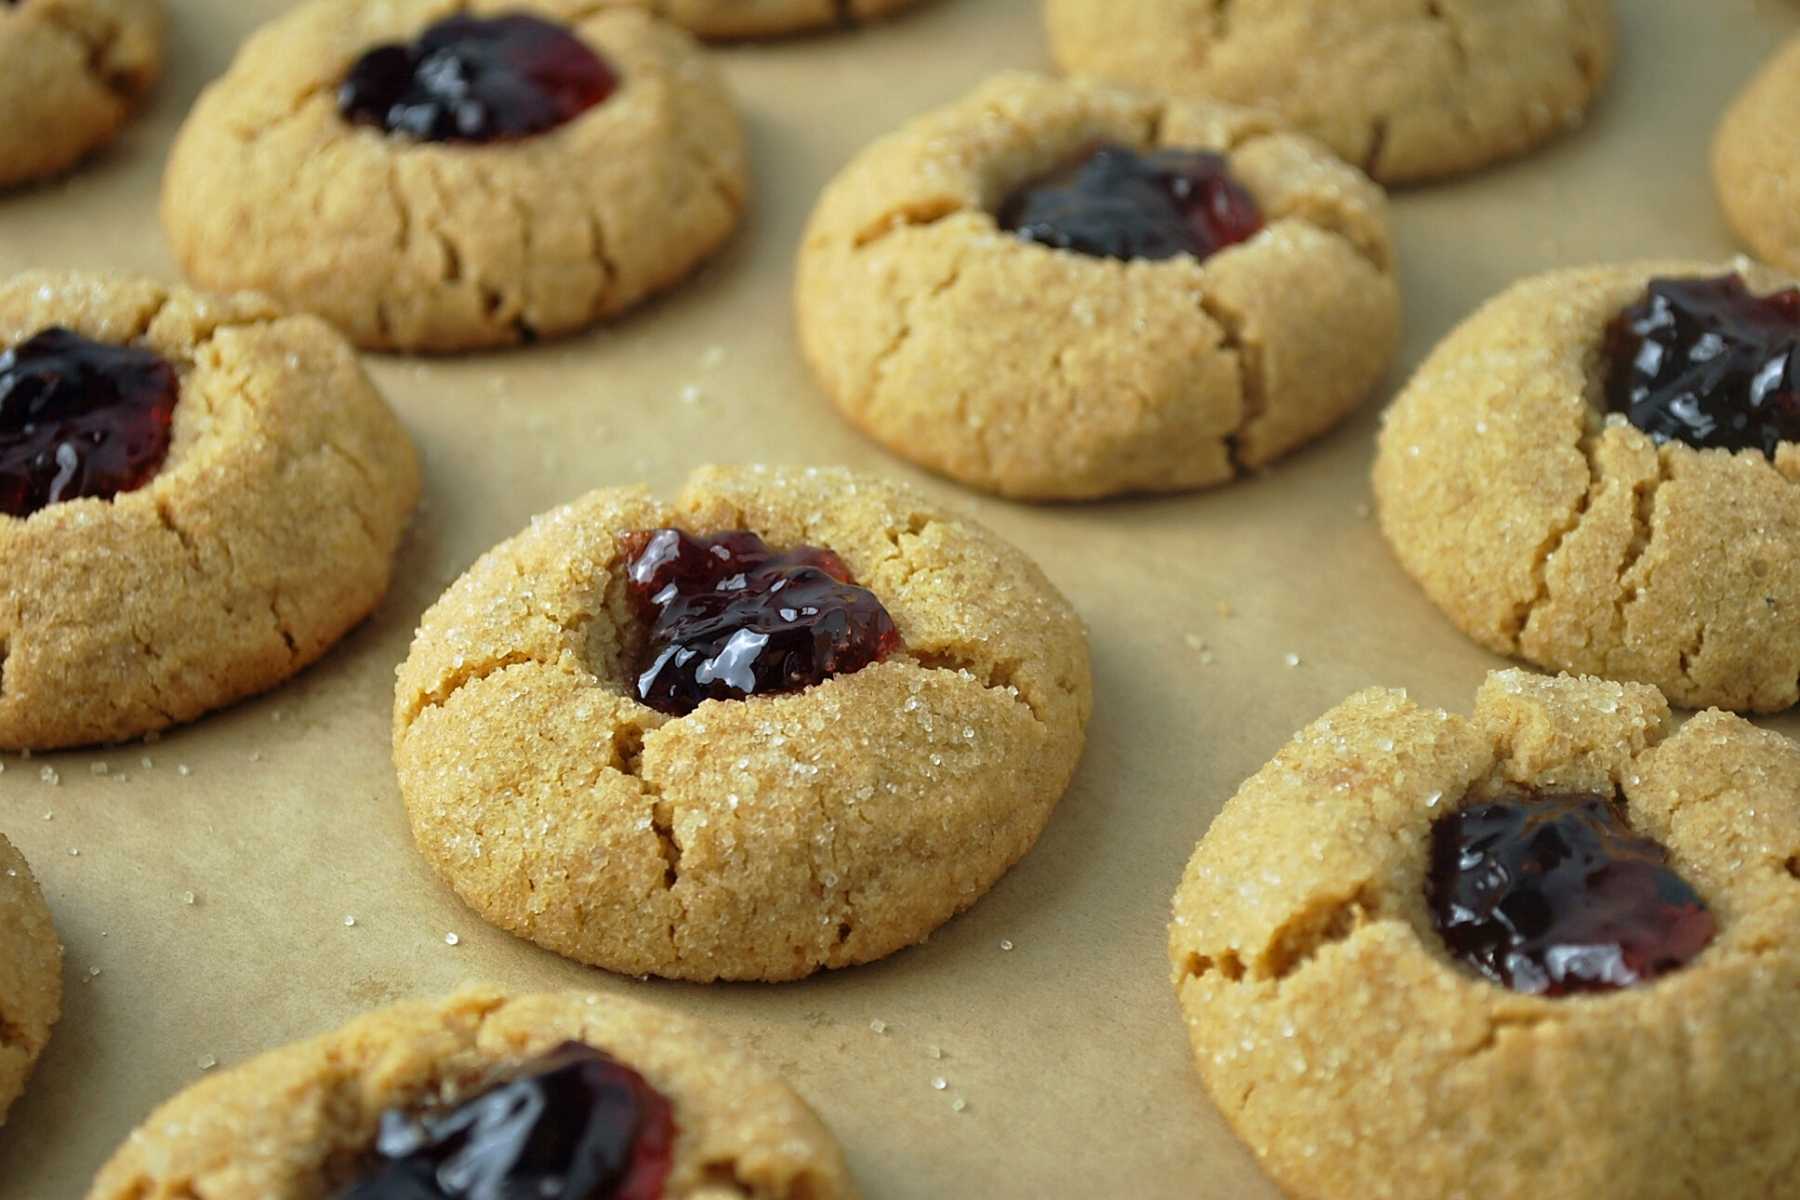
Step 6. Remove from oven, and make indentations in centers by pressing with the handle end of a wooden spoon. The cookies will crack a little on the sides and that’s totally fine. It is characteristic of thumbprint cookies made with peanut butter. The texture will still be awesome. Return to oven, and bake until edges are golden, 6 to 7 minutes more. While the cookies are still warm, fill each cookie indentation with 1/2 teaspoon of fruit preserves.
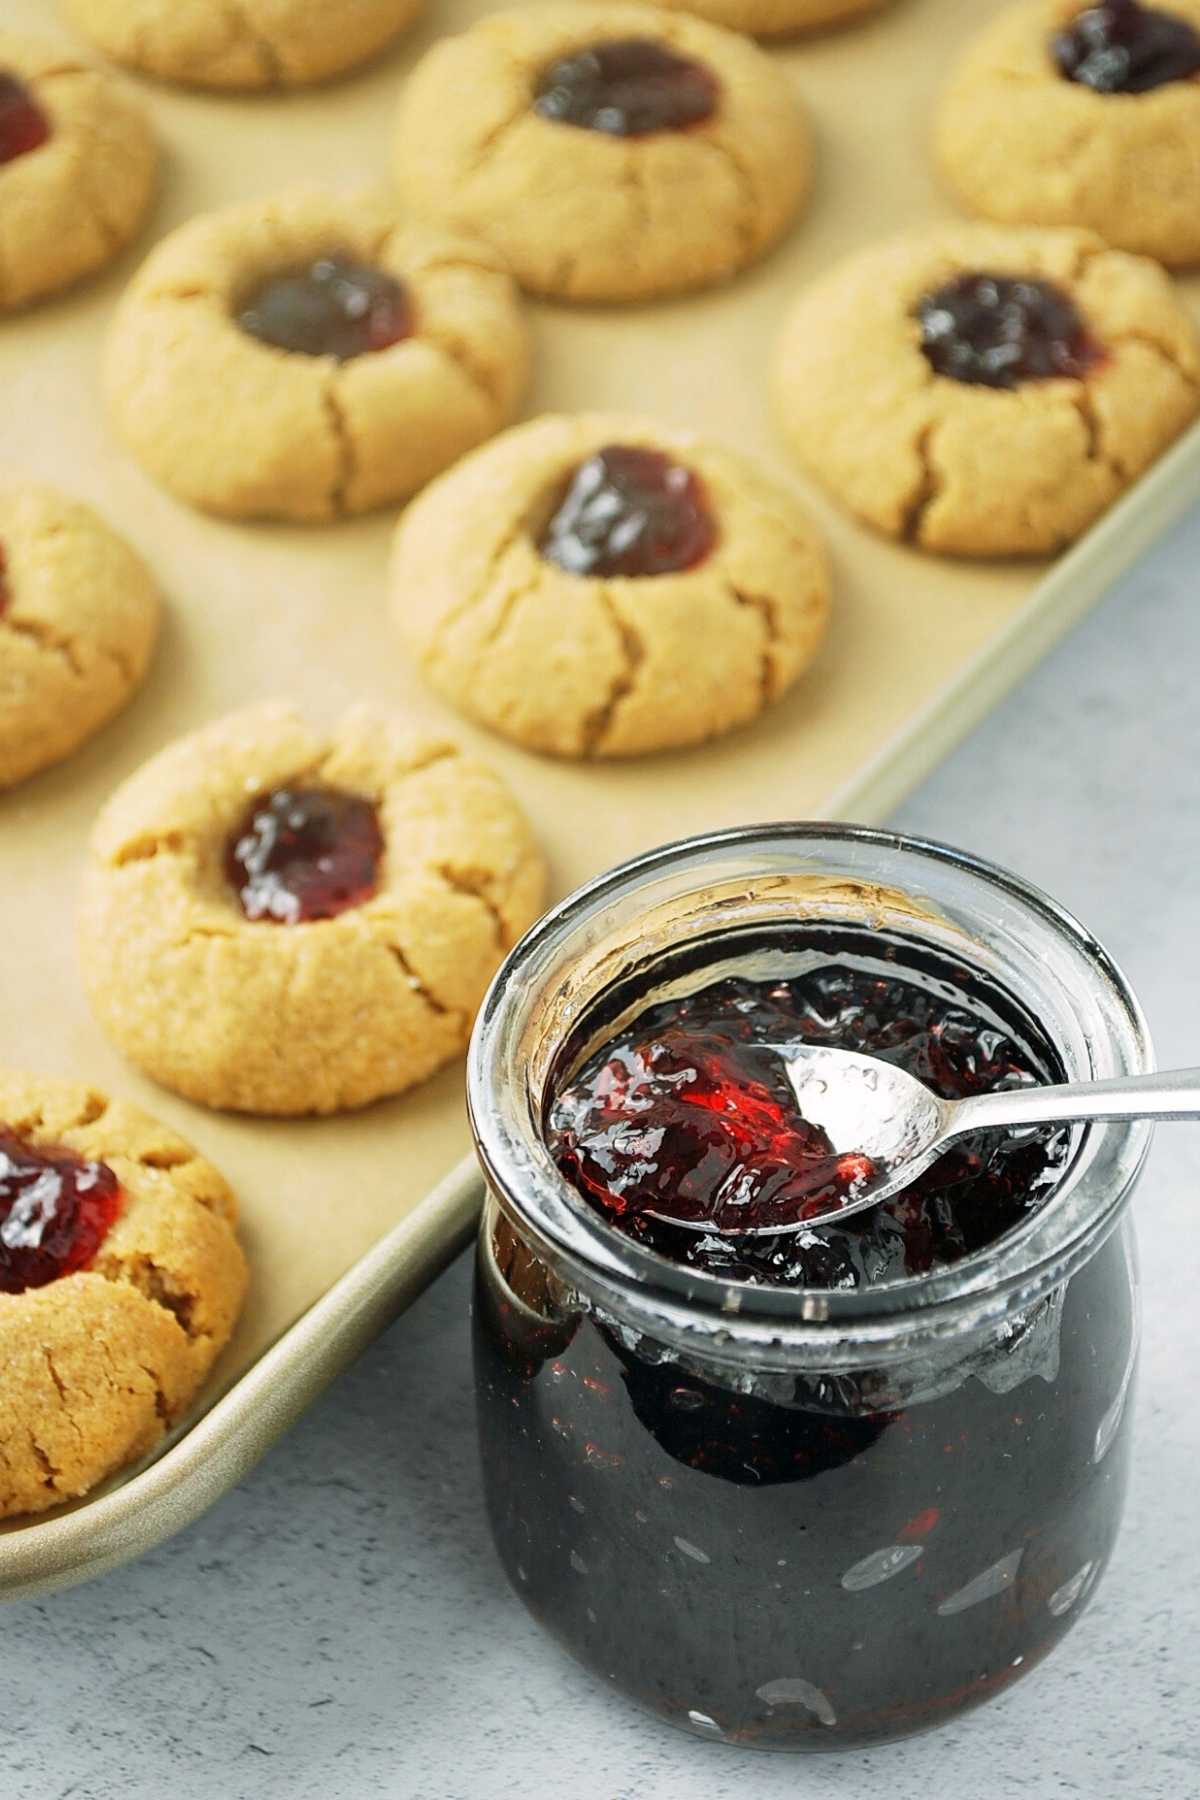
Transfer sheets to wire racks, and let cool completely.
How to make oat flour for gluten-free thumbprint cookies
Making your own oat flour is as simple as processing whole oats in a food processor until you have the texture of flour. It will be slightly more coarse than regular flour but will work beautifully for this recipe. Not to mention, it’s cheaper than buying it already ground! If you end up with extra oat flour just put it into a freezer-safe container and store it in the freezer for up to 3 months to use in other recipes, like these scrumptious pumpkin oat flour pancakes!
Recipe Tips
- You definitely want to use very smooth and creamy no-stir peanut butter for this recipe for the best cookie texture. Natural peanut butter is great, but the oil will separate from the ground nuts creating a pasty texture. I love it for my toast, but not for baking. I use the Jif Naturals creamy peanut butter with great results.
- I also recommend using lighter color baking sheets when making cookies so you don’t end up with uneven cooking and burned bottoms. I love the Nordic Ware Natural Aluminum Commercial baking sheets. I get amazing results with these pans every time. If you only have darker pans and don’t want to buy new ones, using a silicone baking mat can help with better heat distribution.
Storing
Cookies can be stored in a single layer for up to 1 week. I like to store gluten-free peanut butter and jelly cookies in the freezer in a sealed container, they are delicious straight from the freezer and will be good frozen for up to three months. Making ahead and freezing is a great way to get a head start on holiday baking or to just have them on hand when the pb&j craving strikes.
More delicious gluten-free cookie recipes
Gluten-Free Oatmeal Carmelitas
Awesome Gluten-Free Chocolate Chip Cookies (and a bonus GF pancake recipe)
Peanut Butter Thumbprint Cookies
Ingredients
- 1/2 cup gluten-free oat flour
- 1/2 cup all purpose gluten-free baking flour King Arthur recommended
- 1/2 tsp baking powder
- 1/2 tsp baking soda
- 1/2 tsp salt
- 1 cup creamy peanut butter use the no-stir peanut butter to achieve the right texture.
- 1 stick unsalted butter softened
- 2/3 cup brown sugar you can also use coconut sugar
- 1 large egg
- 1 tsp vanilla extract
- organic cane sugar for rolling
- Filling:
- 6 tbsp all-fruit preserves grape recommended
Instructions
- Preheat oven to 350 degrees F.
- In the bowl of an electric mixer, blend butter and peanut butter until smooth and creamy. In a separate bowl, whisk together flours, baking powder, baking soda, and salt.
- Add brown sugar to peanut butter mixture and blend until smooth. Add egg and vanilla, and beat until incorporated. Reduce speed to low. Add dry ingredients, and mix until combined.
- Scoop level tablespoons of dough, and form into balls. Roll into tablespoon-sized balls, then roll in the sugar to coat.
- Transfer cookie balls to parchment-lined baking sheets, spacing about 2 inches apart. Bake until cookies are puffy, about 10 minutes.
- Remove from oven, and make indentations in centers by pressing with the handle end of a wooden spoon. Return to oven, and bake until edges are golden, 6 to 7 minutes more.
- While cookies are still warm, fill each cookie with 1/2 teaspoon of fruit preserves.
- Transfer sheets to wire racks, and let cool completely.
Nutrition

- BBQ Meatloaf Muffins (High-Protein, Gluten-Free) - July 15, 2026
- Crispy Steak and Egg Breakfast Burritos - June 14, 2026
- Toasted Reuben Wrap Sandwich - May 20, 2026
These are unbelievable!! So delish, kids and hubby all love them. Only change I made was using 1/2 almond butter since I had that on hand. Thanks for the recipe, I will be making more soon 🙂
Oh boy, I bet my Little Guy would go crazy over these treats!!
my kids love them Emily! Especially right out of the freezer!