How To Blanch Fresh Green Beans
This post may contain affiliate links. Please read my disclosure policy.

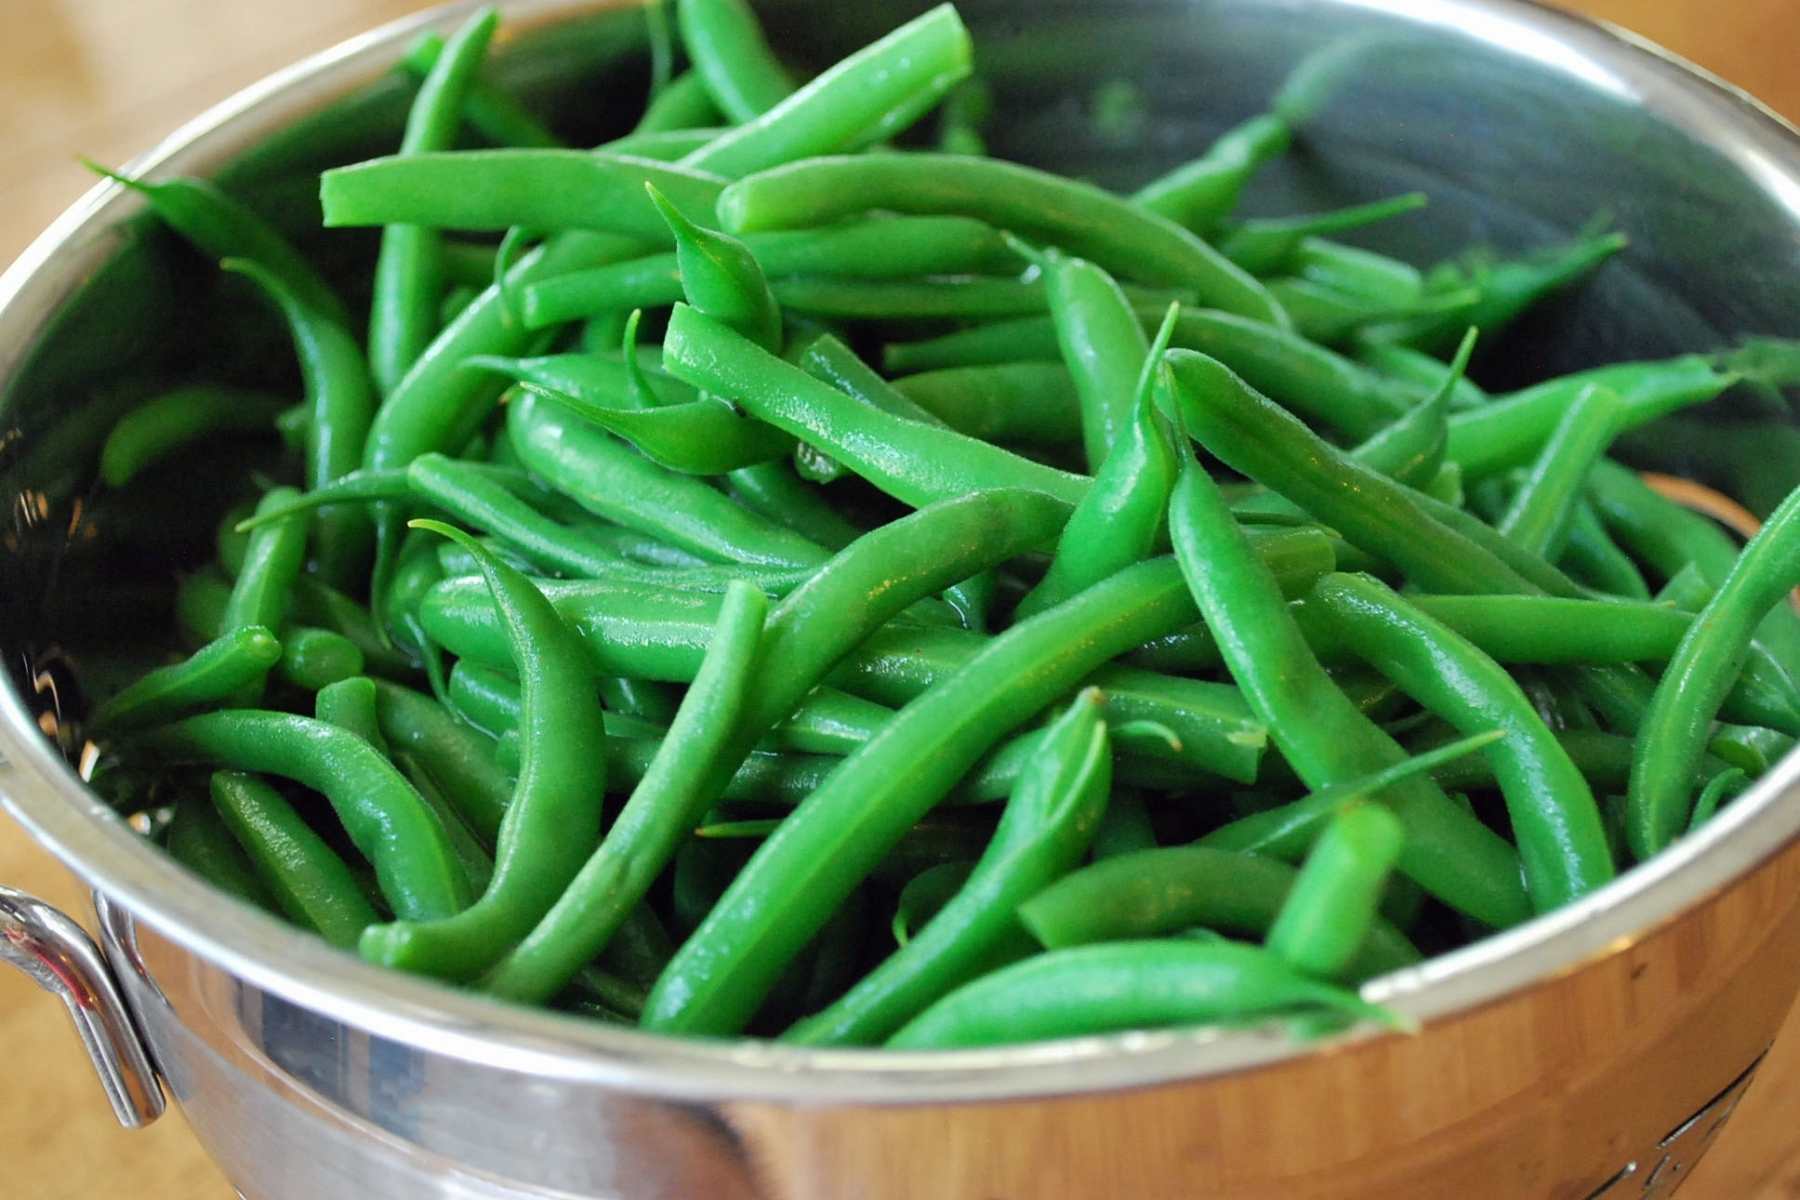
It’s easy-breezy to blanch fresh green beans. I have so many in my garden right now and I want to be able to enjoy them into the fall and winter. I’m sharing this simple method of how to blanch fresh green beans and packaging them to freeze.
I love the bright, beautiful green color they turn when they are blanched. Also, you preserve more of the nutrients when you freeze them instead of canning. Now you can enjoy your summer harvest all year long!
How To Blanch Fresh Green Beans
Simple instructions:
1. Snap the ends of your beans, rinse with cold water, and set aside
2. Prepare an ice bath for the beans by adding equal amounts of ice and water in a large bowl
3. Bring a large pot of water to a full boil (about double the amount of water as beans)
4. Drop beans in small batches into the boiling water and boil for exactly 1 minute
5. Remove beans from boiling water with a large slotted spoon or wire strainer and place them immediately into the ice bath to cool.
6. Drain beans and set them aside for freezing
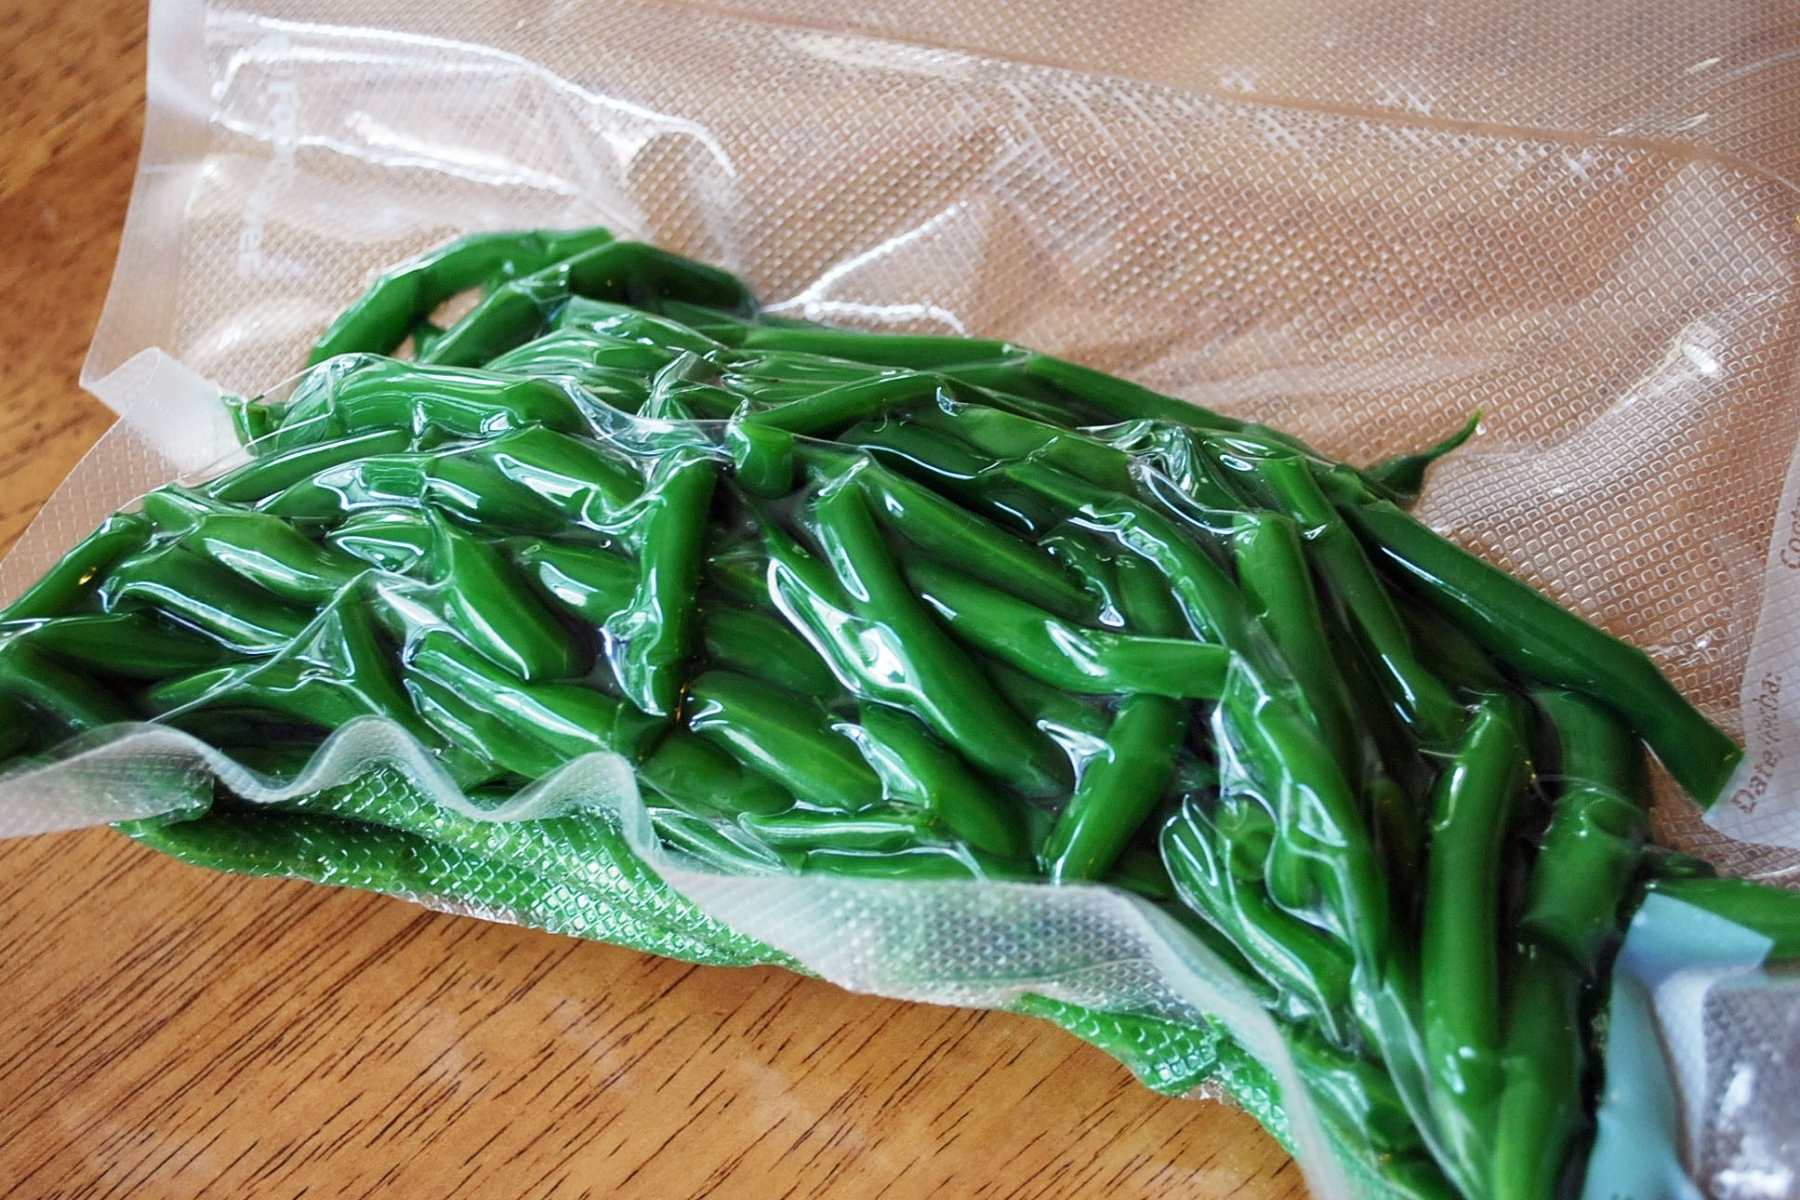
Freezing instructions:
There are two ways that you can best preserve your beans. Vacuum sealing with a Foodsaver device or in a zipper freezer bag. If you use the vacuum sealing method, you can place blanched beans on a cookie sheet and freeze individually for a couple of hours before sealing or just seal them right after blanching, making sure that they are well-drained. For the freezer bag method, freeze beans individually (as described before) and place them into a freezer bag, squeezing out as much air as possible before sealing.

- Crispy Steak and Egg Breakfast Burritos - June 14, 2026
- Toasted Reuben Wrap Sandwich - May 20, 2026
- Low-Carb Spicy Tuna Bowl with Canned Tuna (High Protein) - May 17, 2026
Your post was so incredibly clearly written and easy to follow – Thank you!!! (one quick question for us newbies: is the time in the ice bath equivalent to the time in the boiling water?
Question. If you blanch your beans, dip in ice water to chill, then towel dry, do you use the dry or moist button to vacuumed ???
Hi Vicki! Sorry I missed this! I use the dry button to seal.
That’s easy enough! And they look delicious!