Easy Meal Prep with FoodSaver®
This post may contain affiliate links. Please read my disclosure policy.
*This Easy Meal Prep with FoodSaver® post was sponsored by the FoodSaver® Brand through their partnership with POPSUGAR Select. While I was compensated to write a post about the FoodSaver® Vacuum Sealer System, all opinions are my own.
Getting a fast, tasty meal on the table on busy weeknights can be tough, even for someone like me that loves to cook. Life is busy, y’all! We are running to activities during the week and short on time, so meal prep can be a huge lifesaver to avoid making unhealthy dinner choices by running through our favorite drive through window.
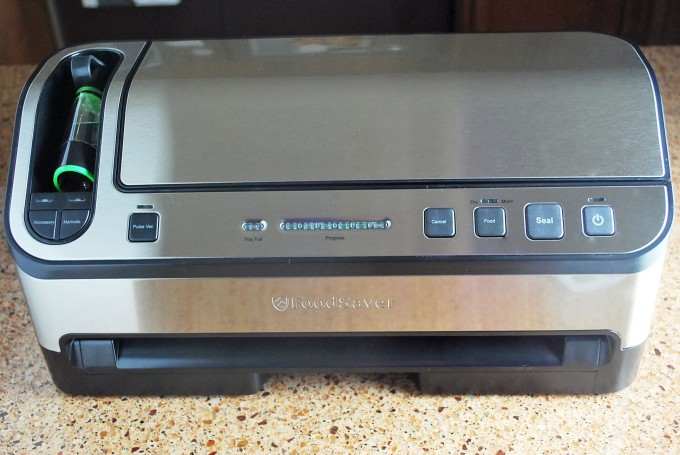
I received the new FoodSaver® Vacuum Sealing system to review and I’m really loving how simple this thing is to use. The sleek, stainless steel finish looks awesome in my kitchen, so they get a big thumbs-up for design.
I have an older model FoodSaver® System that my mother-in-law passed down to me when she got a new one a few years ago. It still works great, but it’s pretty basic and doesn’t have all the bells and whistles of the new model, so I thought I would point out some notable new features that are pretty cool.
One thing worthy of mentioning is the retractable hand-held sealer.
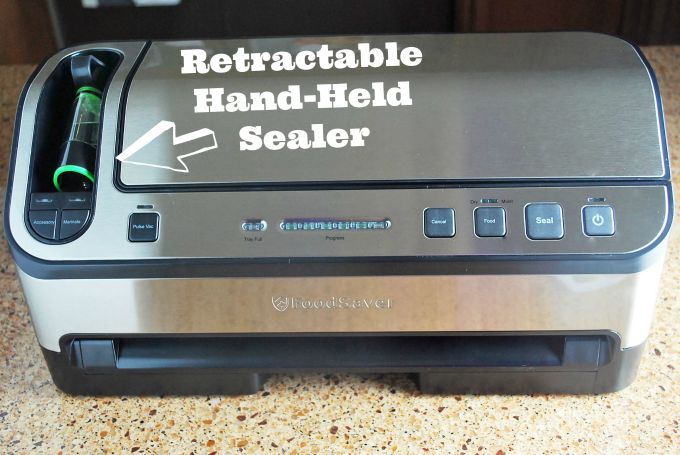
This unit works with the FoodSaver® Zipper Bags, accessory containers and canisters. The Marinate Mode feature, on the handheld unit, uses a pulsing action to “vacuum and rest” meat for faster flavor infusion, another great way to save more time for you in the kitchen.
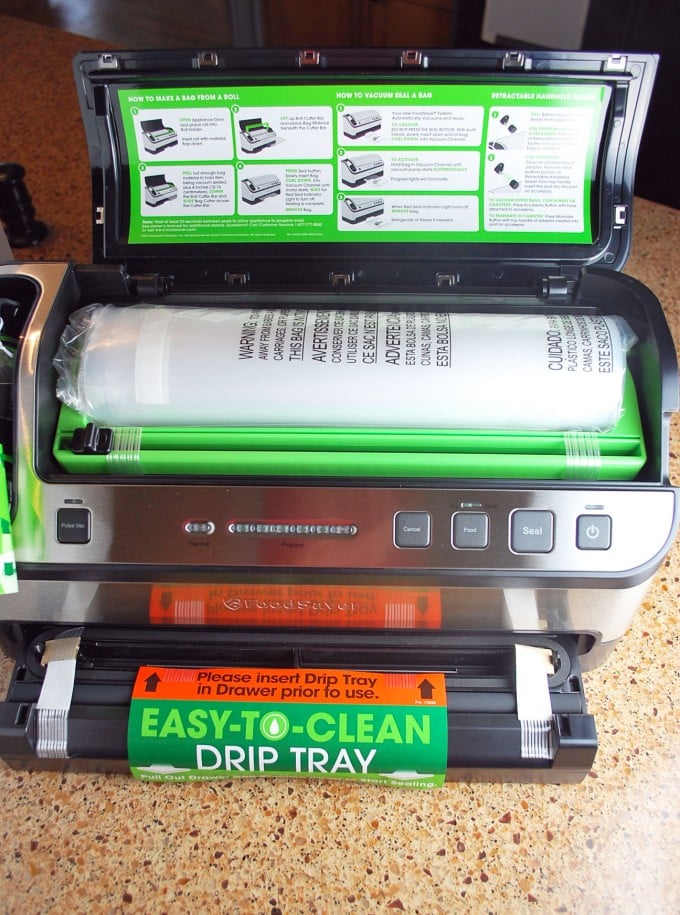
This works with the FoodSaver® Quick Marinating Canister (sold separately) and runs for about 10 minutes. As soon as the cycle is done, your food is ready to cook or refrigerate until you’re ready to grill. I also love the removable drip tray. It keeps the counters clean, while you seal your food.
Ok, so what does all this have to do with meal prep? You can vacuum seal prepared meats for quick re-heating. This method protects meat from freezer burn and takes up very little room in the freezer, unlike bulky containers. I like to pre-cook a lot of our proteins for the week in advance, typically this happens on a Sunday.
I don’t pre-cook our carbs, because it’s hard to do this for a family of four. Frankly, I don’t want to spend ALL day in the kitchen prepping a ton of food. It’s easy to steam or roast vegetables and this can be done in a short amount of time. Save those for the night of your meal, they are tastier when fresh anyway.
*Time-saving tip: chop up all of your fresh vegetables in advance and package them for quick cooking. You can store them in a sealed FoodSaver® bag in the refrigerator to maintain freshness, if desired.
After cooking your meats, let them cool to room temperature. Then vacuum seal them in the FoodSaver® in Bag quantities that you want to prepare. For my family, I would seal 4 chicken breasts, pork chops, steaks, etc. together since that’s what we would eat for one meal.
To reheat, simply bring a large pot of water to a boil, drop bag into the pot and lower the heat to low. Cover pot with a lid and cook until meat is thawed and warm, usually around 10-15 minutes, if frozen. You can also thaw in the refrigerator overnight to reduce warming time.
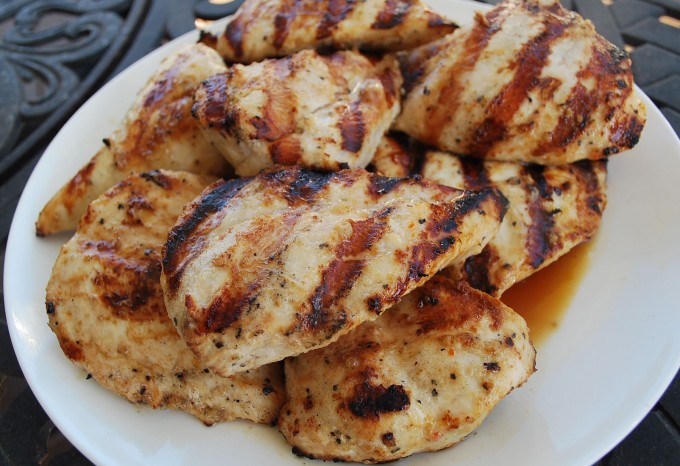
I marinated these chicken breasts in the Best Ever Chicken Marinade before grilling.
This handy-dandy sealer is super easy to use, just cut off how much bag that you’ll need from the roll with the sliding cutter. Then place the edge of your bag into the machine and press seal. All you do next, is wait for the red light to go off and your bag is sealed and ready to fill.
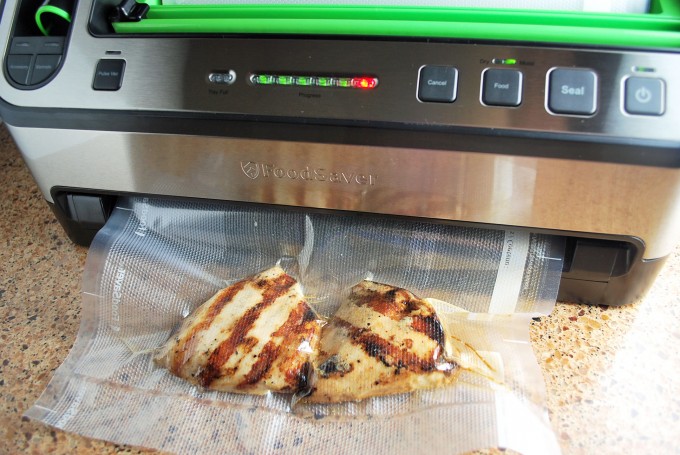
The bag is now ready to label and store in the refrigerator (if eating within a few days) or freezer.
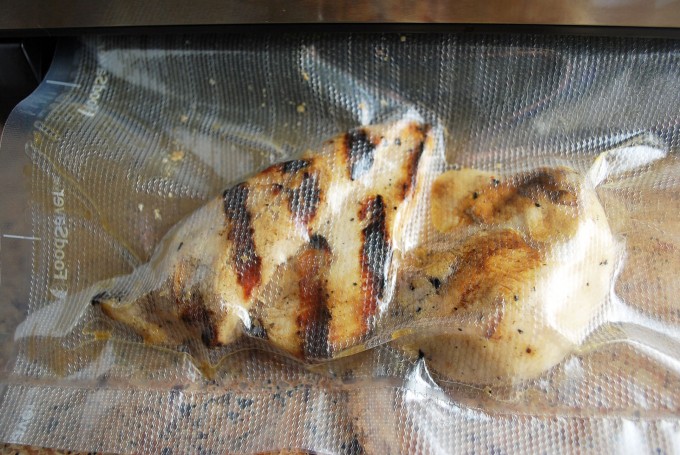
How’s that for an easy button?! Also, you can purchase your meats, fruits and vegetables in bulk from local farms, markets or wholesalers. This saves a LOT of money! When I buy proteins in bulk, I just portion out the food for a meal, seal and freeze.
Just thaw in the fridge overnight or in a container of cold water for several hours. This way there is no waste and you will pay less per pound than if you buy it in smaller portions. You can also blanch green beans, corn and other fresh vegetables to seal and freeze for later.
I’m going to have a lot of fun using my new FoodSaver® while saving precious time and money.
- Easy Chicken Spinach Casserole - February 9, 2026
- Mini Biscoff Cheesecakes (High Protein!) - January 26, 2026
- Slow Cooker Beef and Black Bean Chili - January 21, 2026

You made my day. Really a great post
Nice post. I learn something totally new and challenging on websites I stumbleupon every day. It’s always useful to read through articles from other authors and practice something from other sites.
Really good detailed article. My friend has the same FoodSaver and she is really happy with it.
I think I buy this vacuum sealer next week as well, thanks for this guide.
You’re welcome!
Thank you for your detail instruction! I’m not the type of person reading the guide carefully. I’ve just bought this vacuum sealer this morning and trying to make friend with this device. Hope it will be ok!
Thank you for sharing useful. How many days you have to preserve it?
The food saver is a good equipment for people who are always busy. We can use it for keep the food fresh longer. Thanks Amee livingston for posting this.
Foodsaver vaccum sealer is very useful in storing food and keeping it fresh for long time. It is very helpful for me to keep my fruits and vegetables fresh. thank for your giveaway so much.
You’re most welcome Lyndell!
Hi Amy,
What do you do after taking out of the freezer? Does it need to go to the microwave or you put it with the bag in a pan?
Thank you!
Hi Ines! You can thaw it quickly by submerging the bag in a pot of cold water in the refrigerator, then just heat in the microwave. You can also put the bag in boiling water for about 5 minutes to warm the meat.